In part 2, I cleaned up the bottom end and measured the crankshaft journals.
In this post, I’m tearing down the head in prep for taking it to the machine shop. I’ll be taking out the valves, and giving them a cleaning using a brass wire wheel. Brass is soft and it shouldn’t mar the metal of the valves. I’m hoping to reuse the stock valves and springs since I don’t plan on reving the engine higher than stock. I’ll be labeling all the parts and keeping them in an organizer bin until it’s time for reassembly.
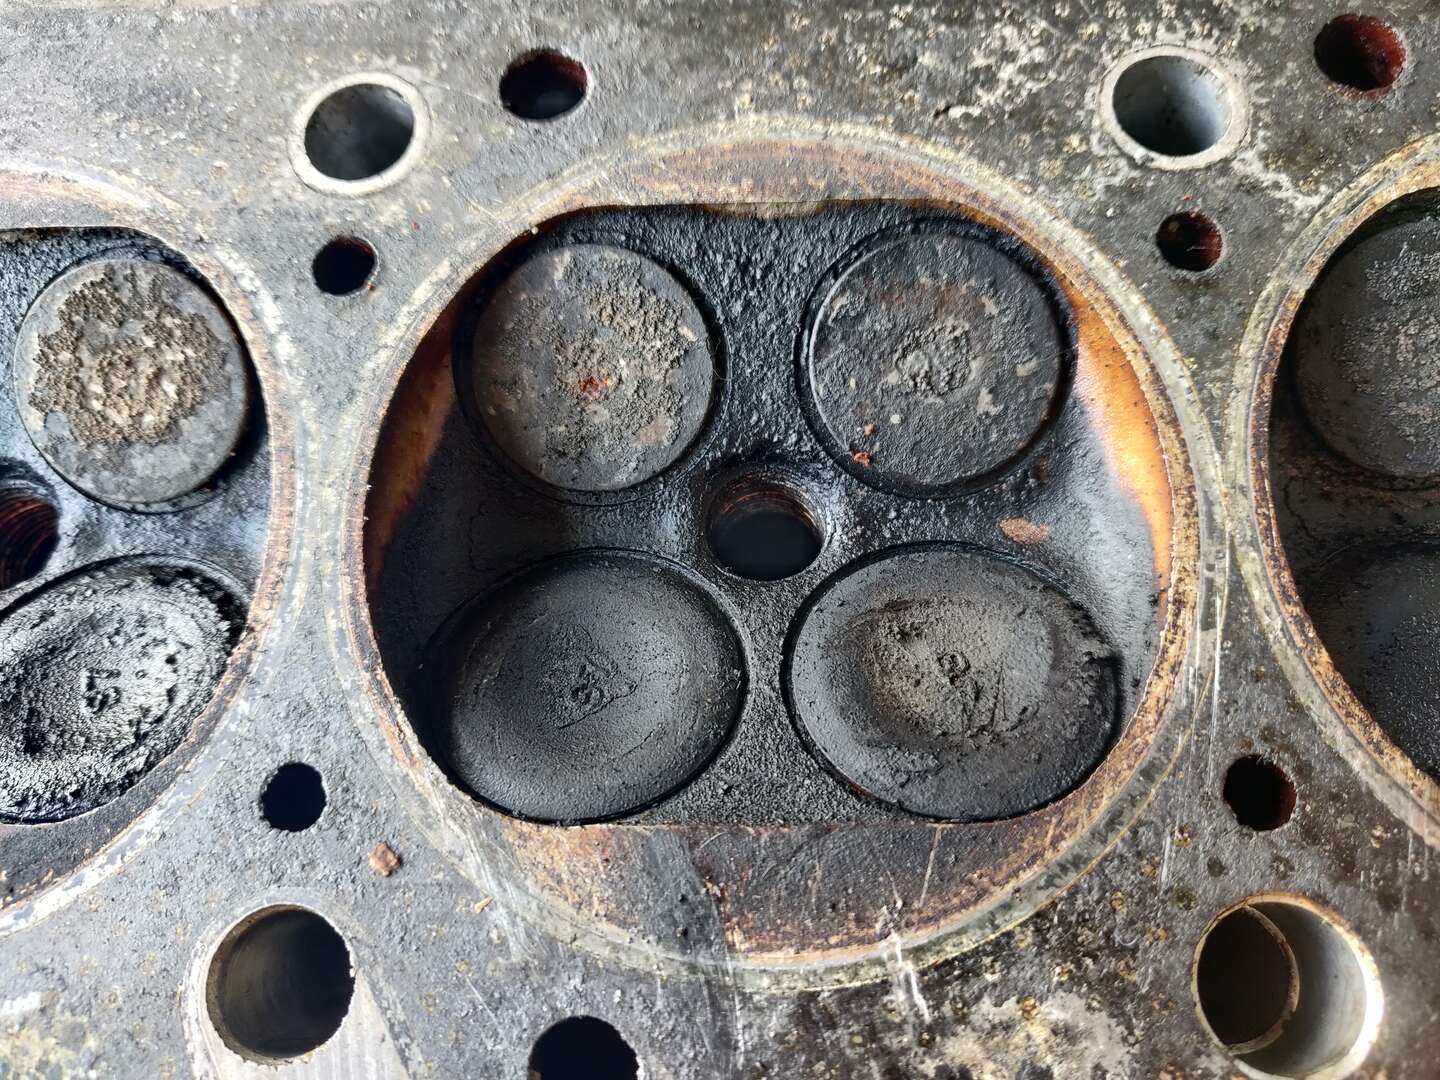
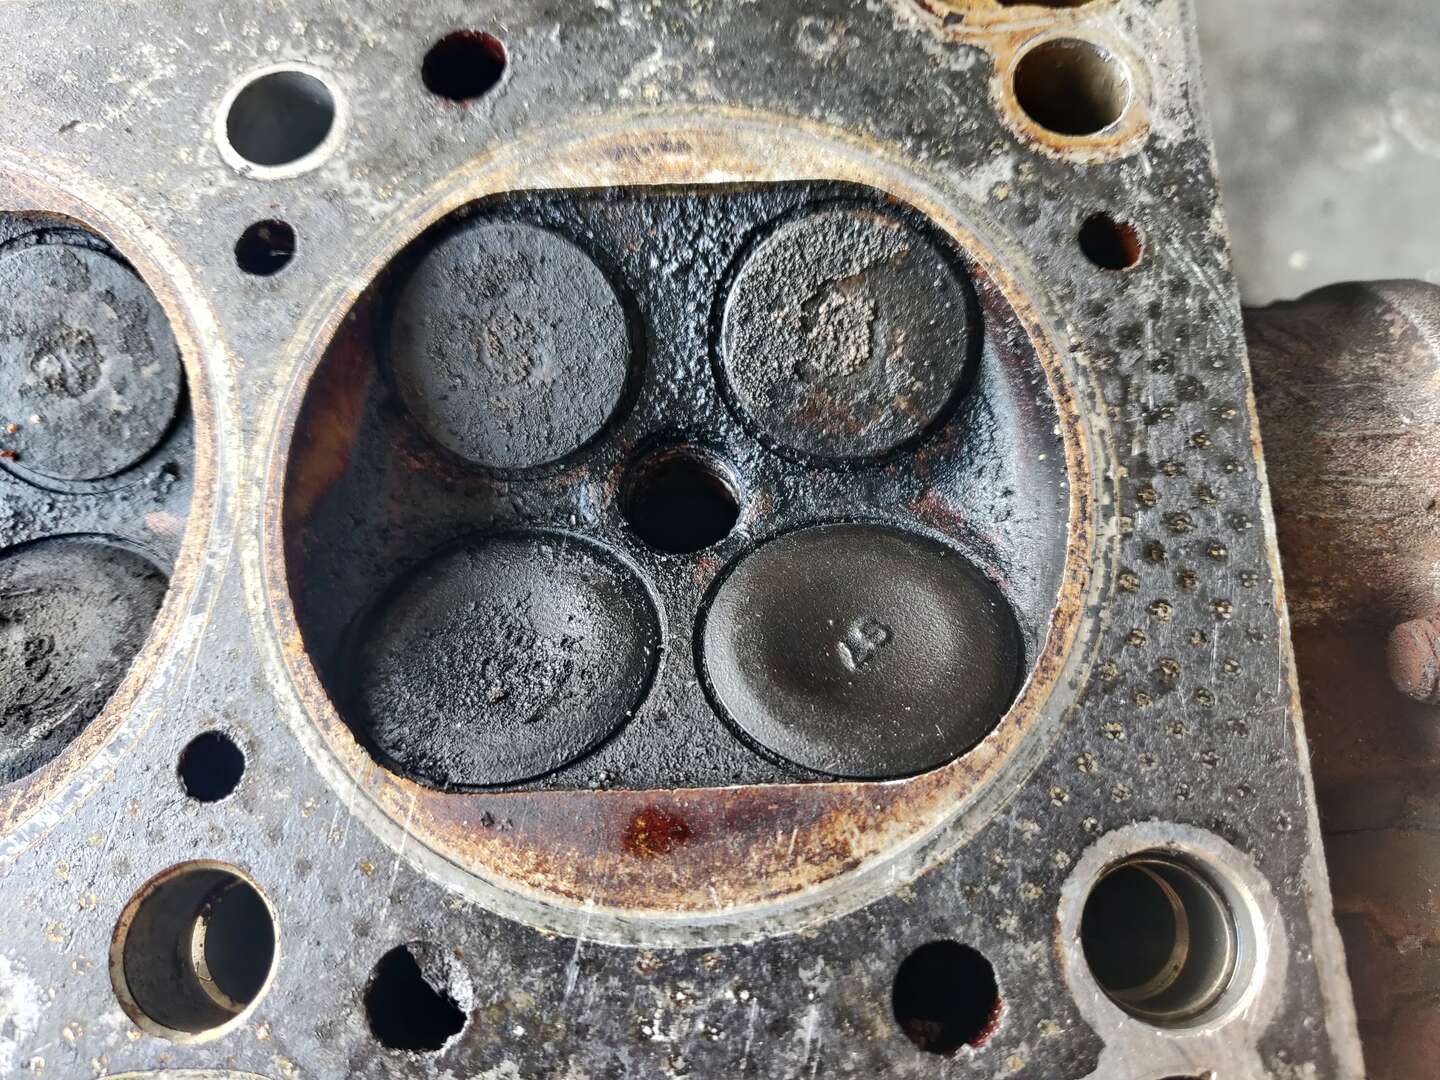
Before Disassembly
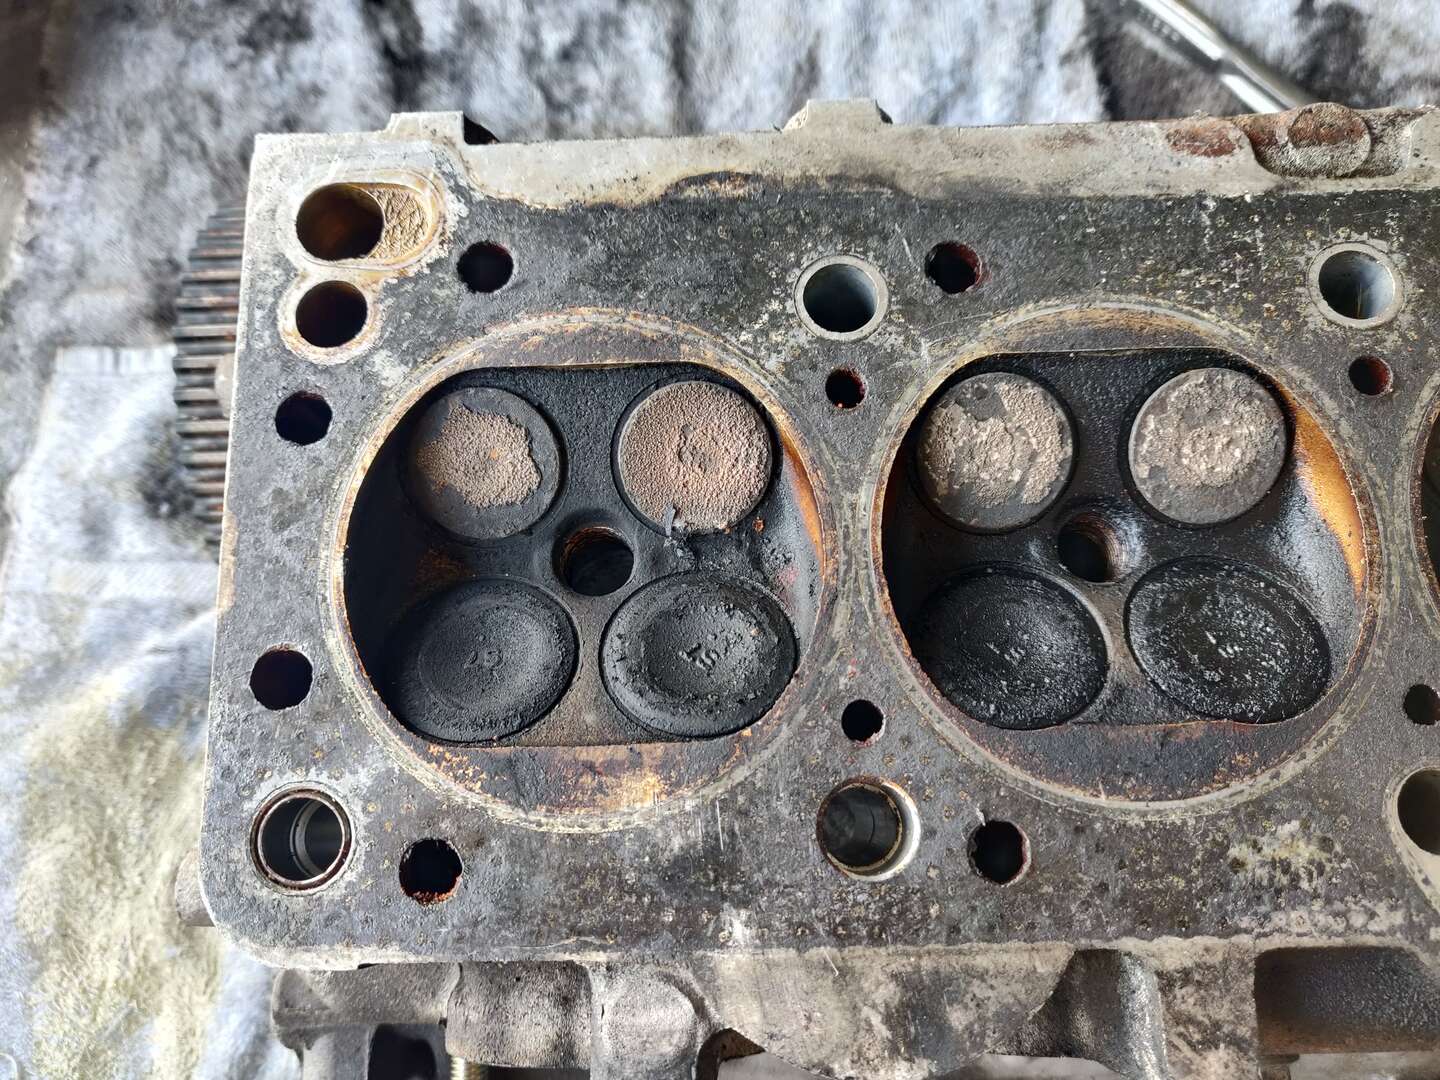
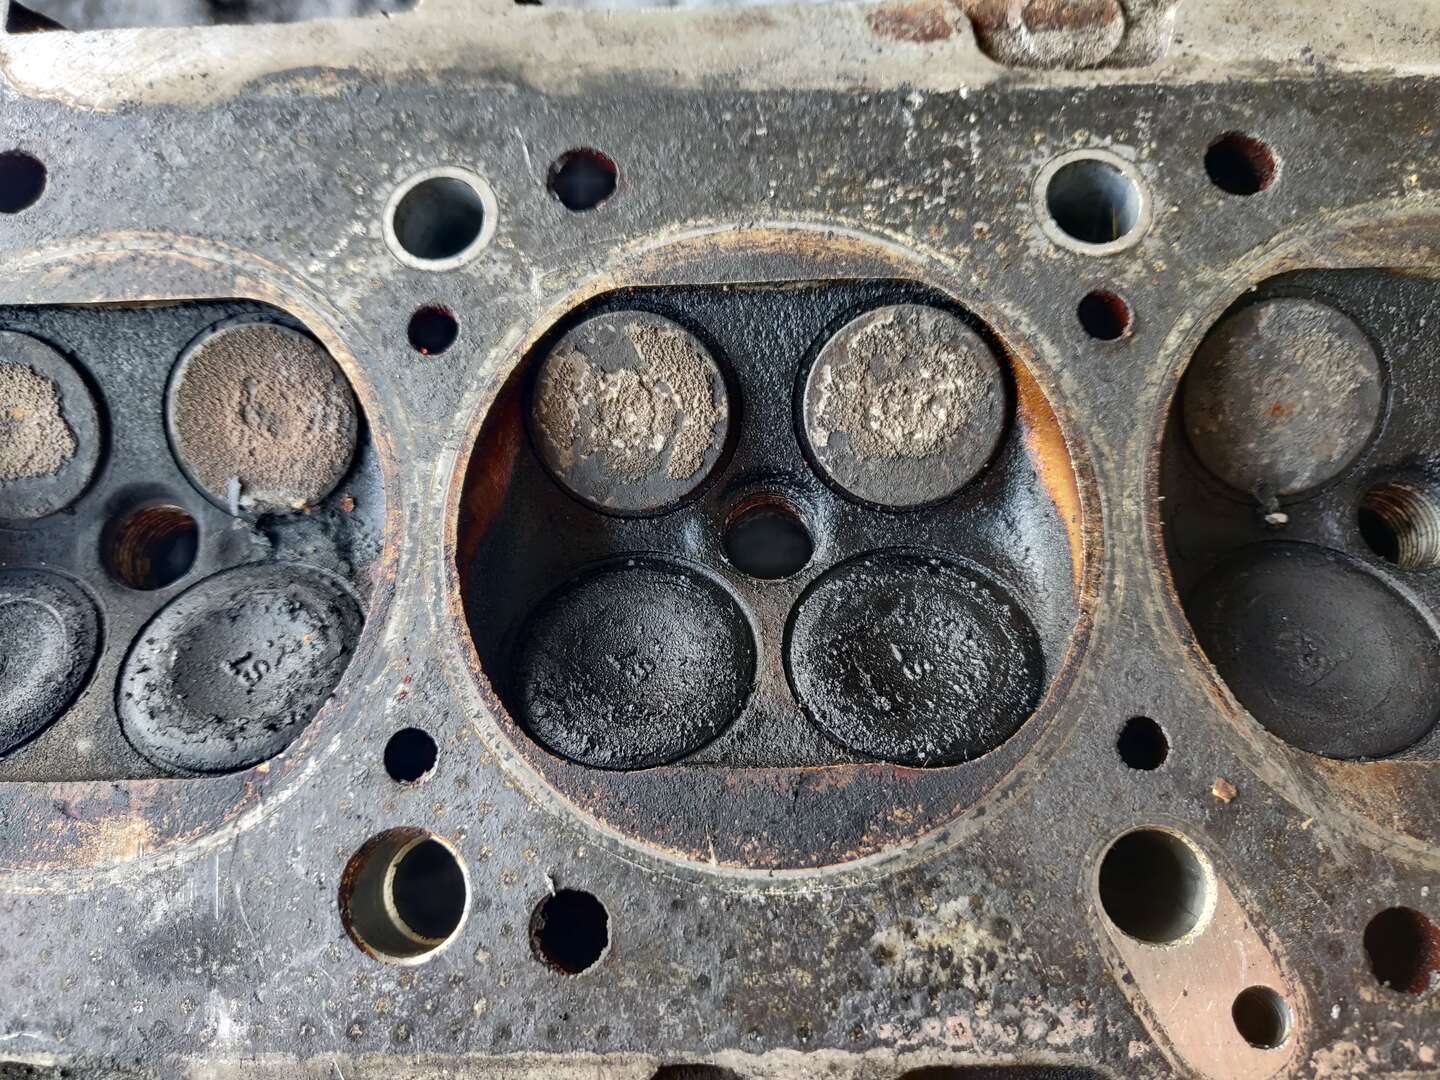
Here are some photos of the inside of the head. I’ll have the machine shop clean this up.

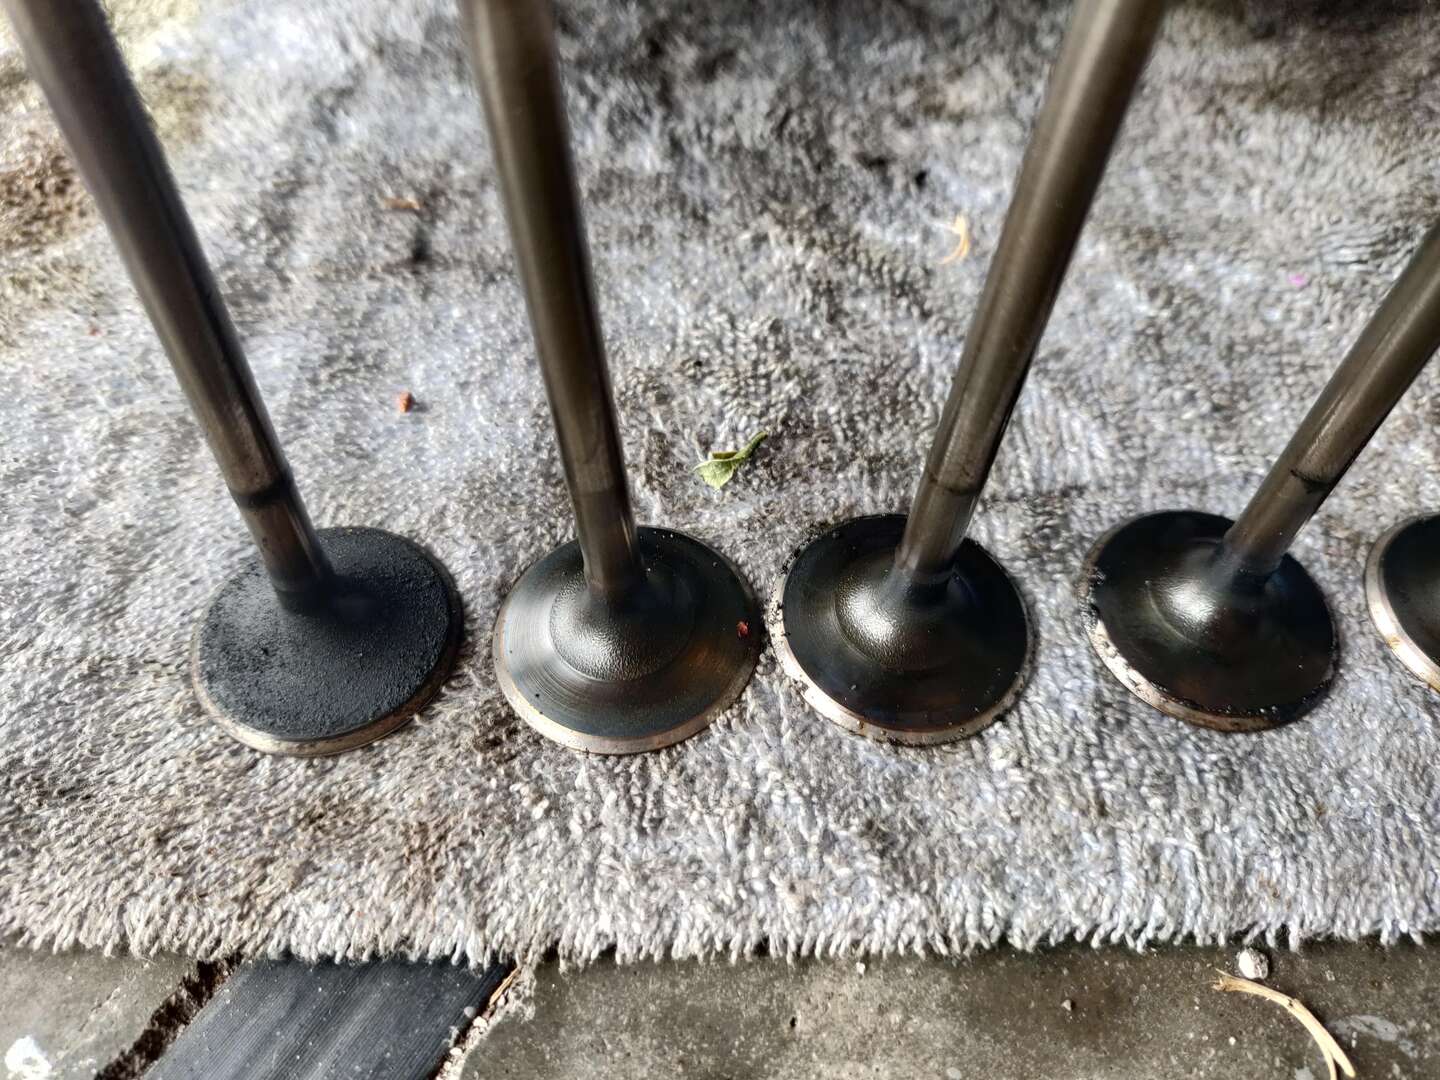
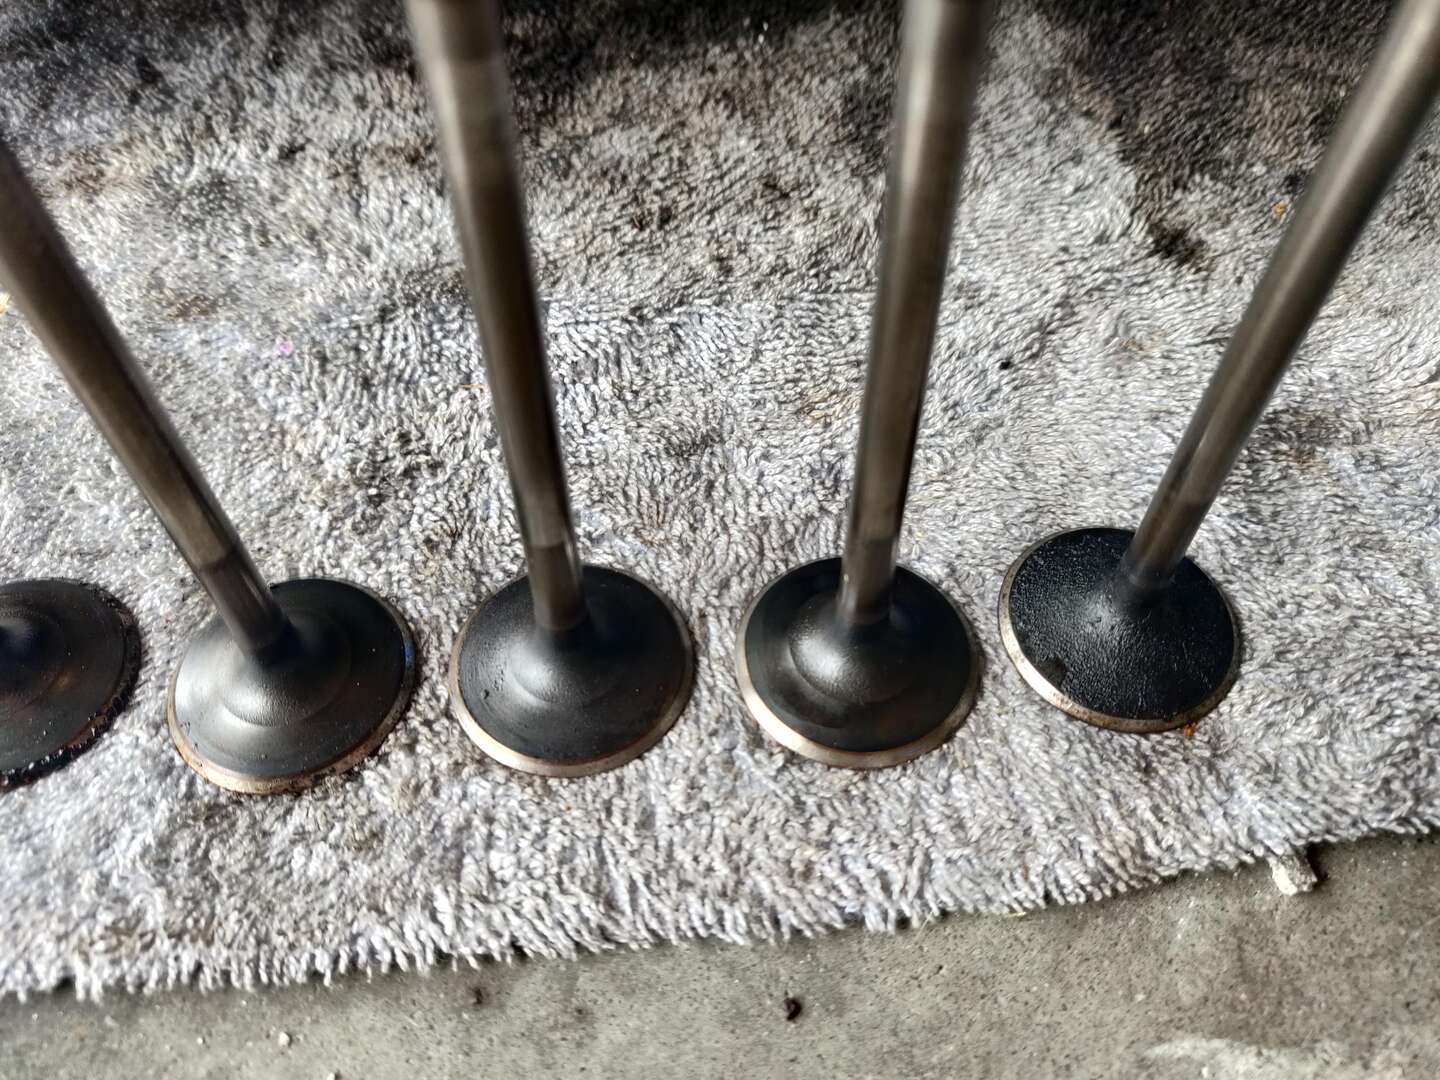
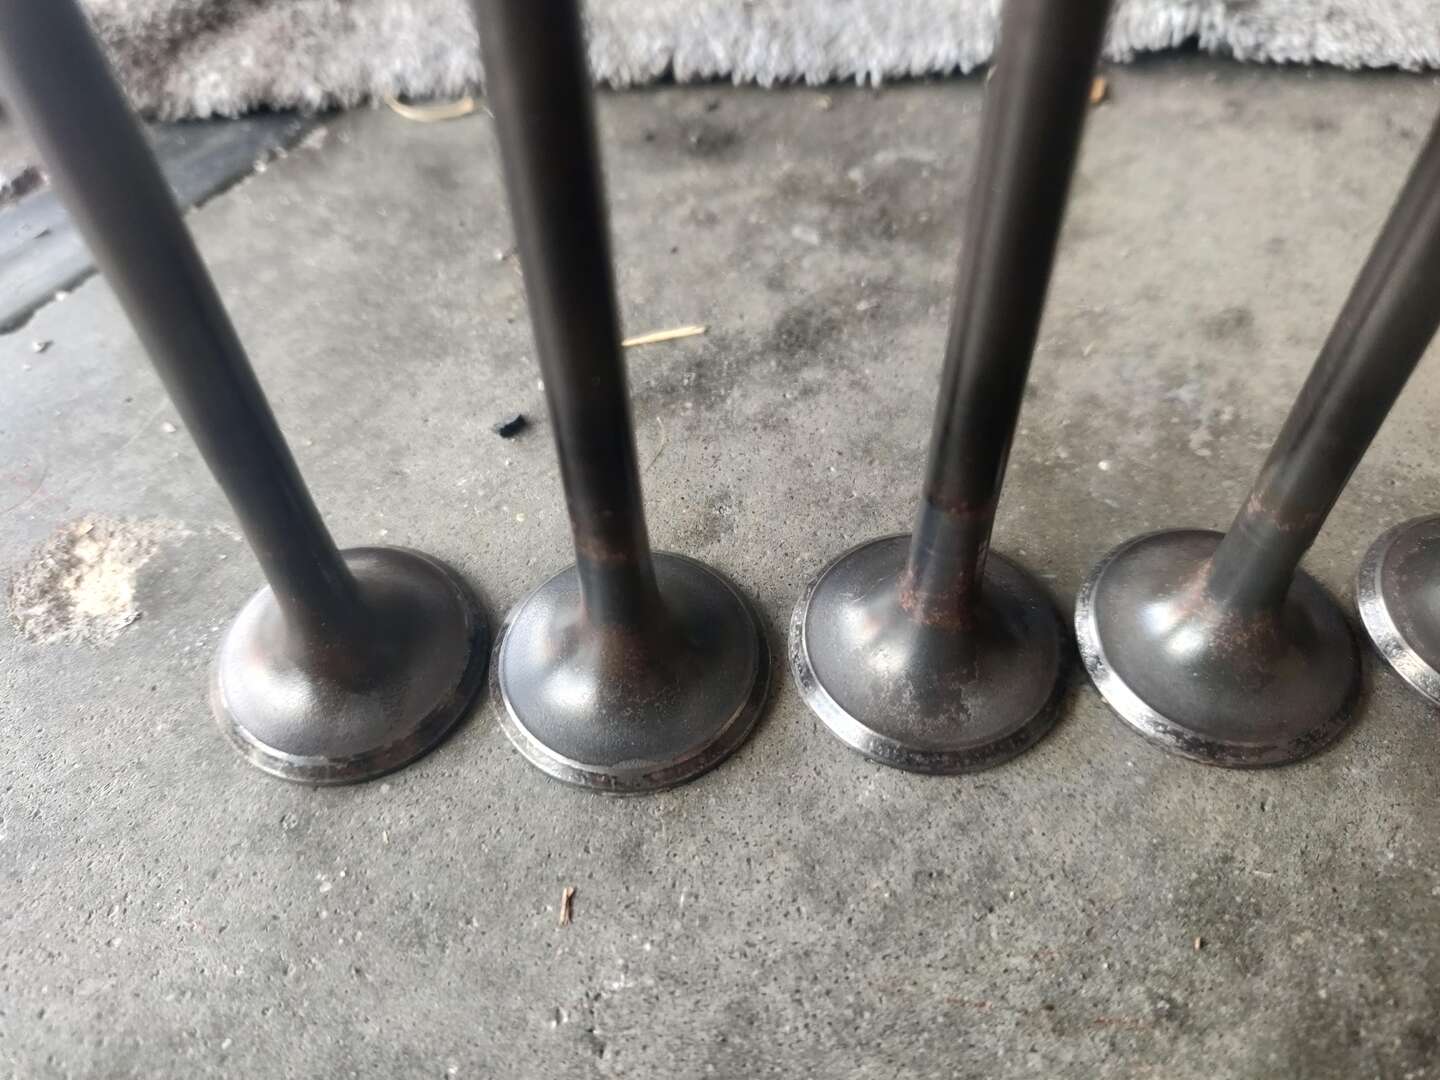
Here are some photos of the bottoms of the valves before removal and cleaning.
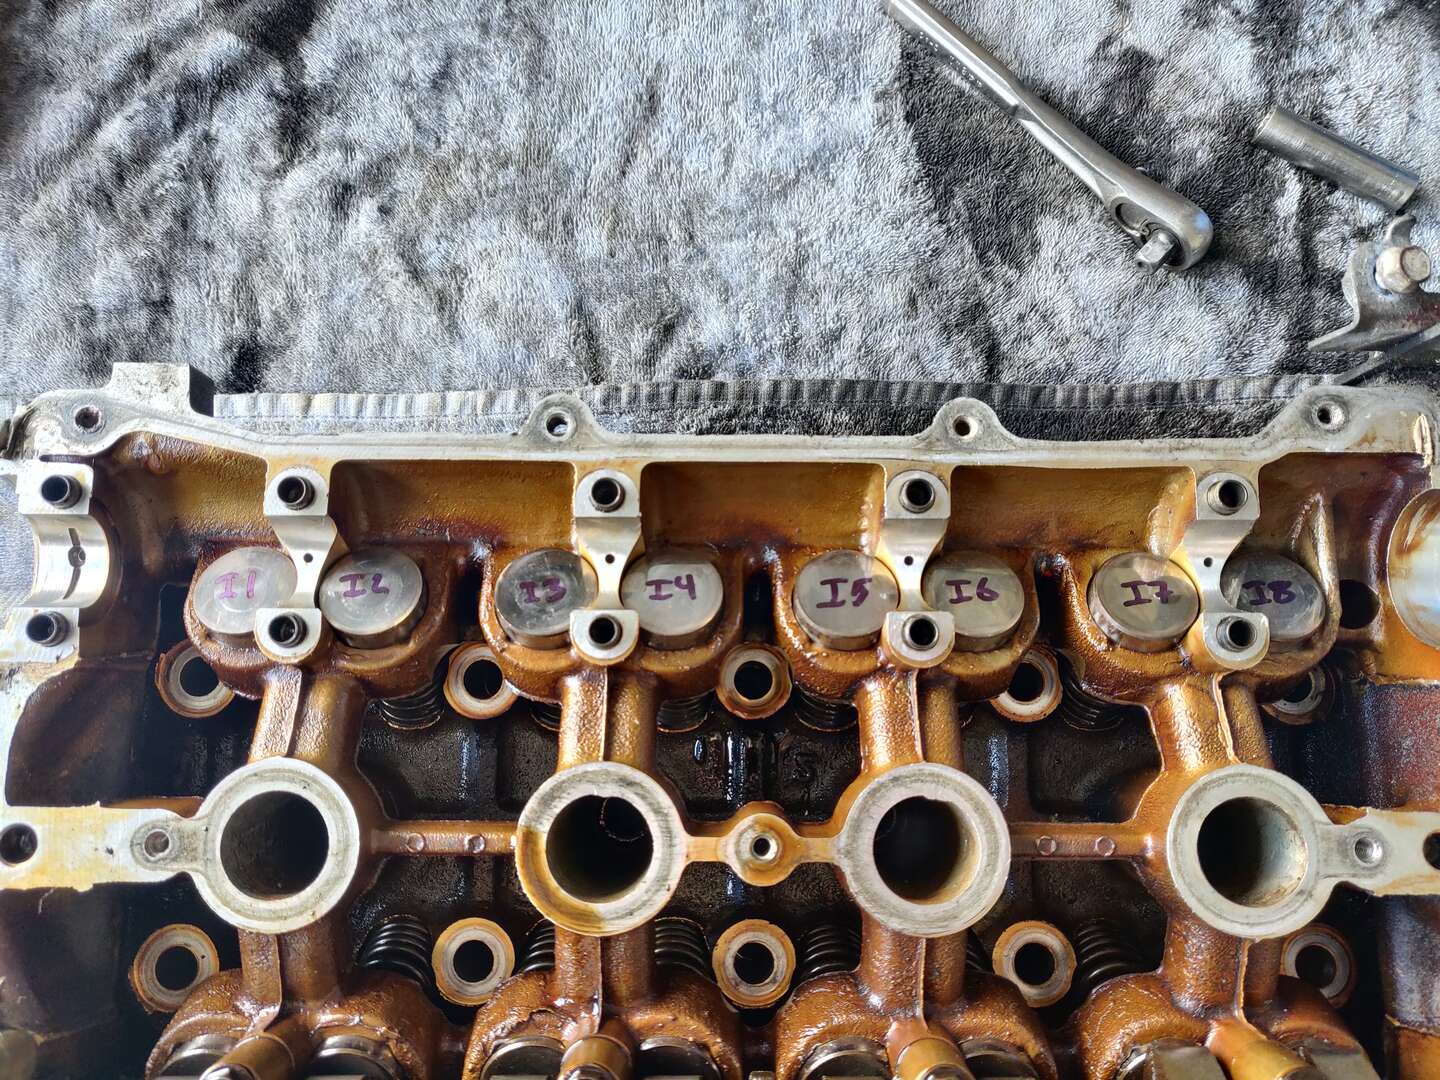
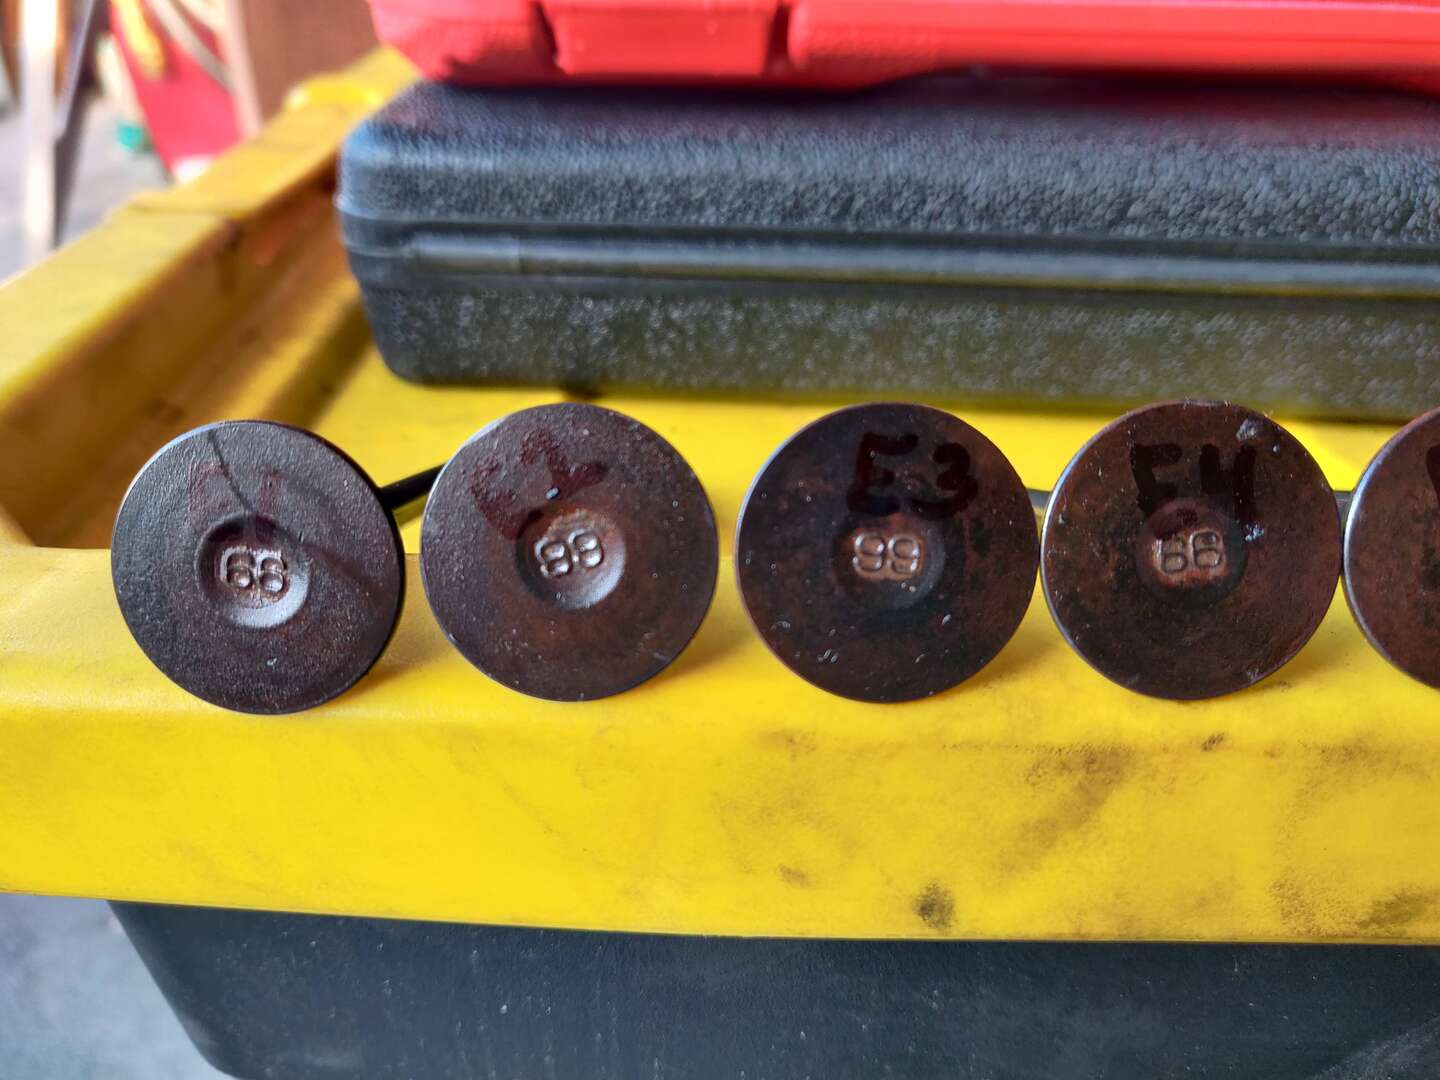
Cleaning Intake Valves
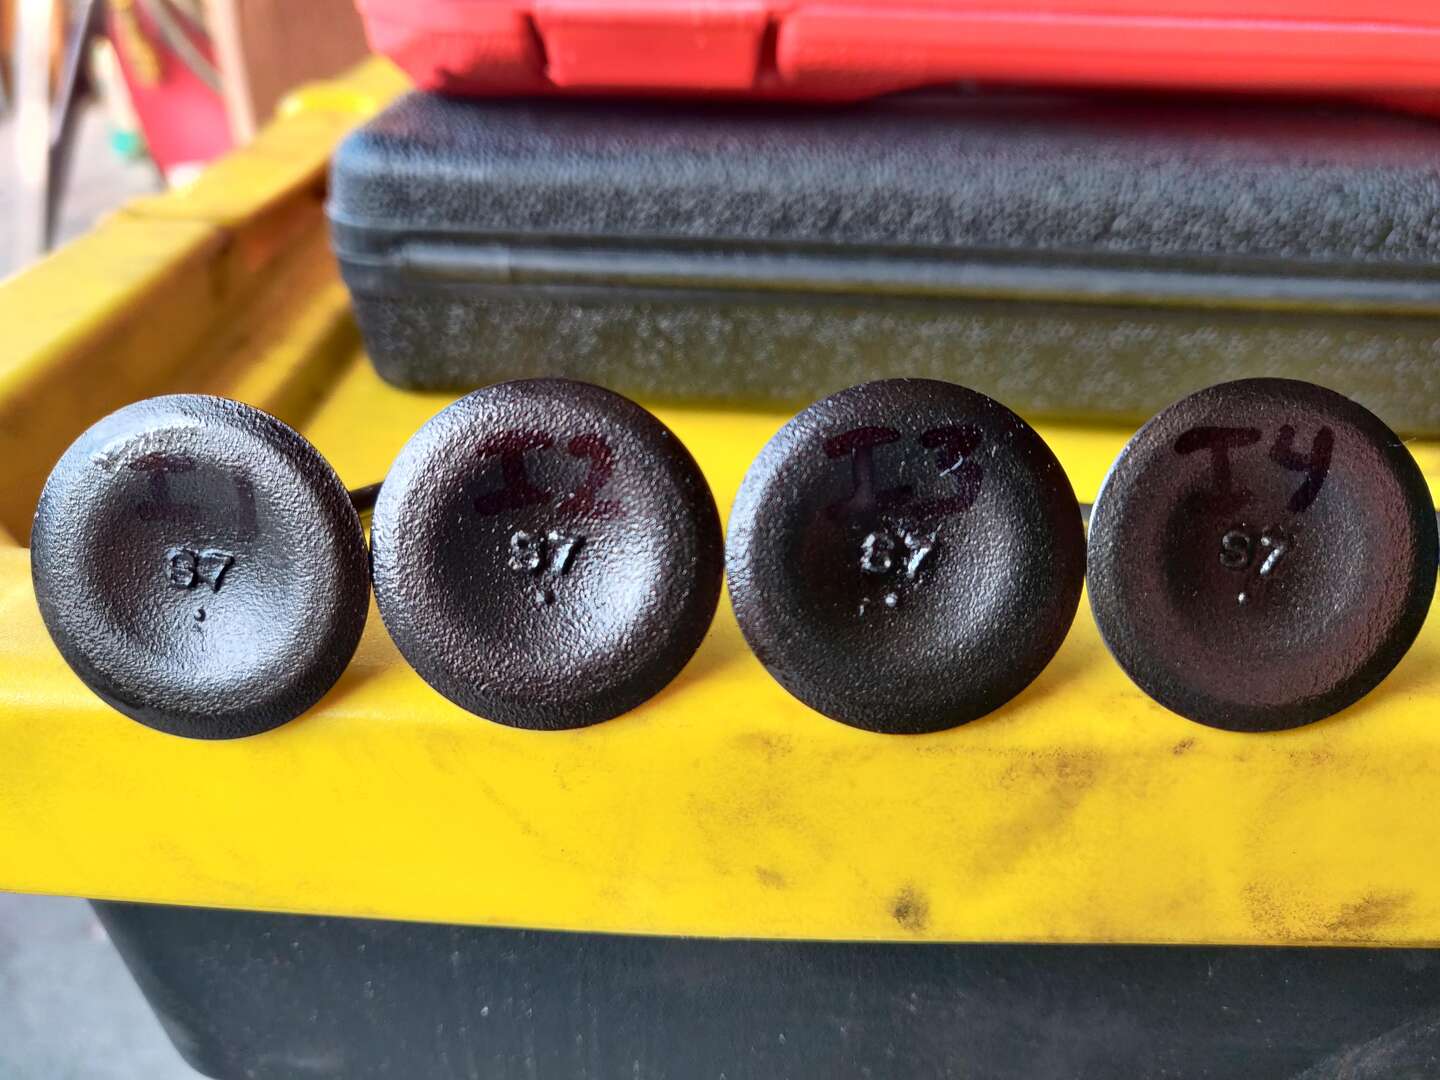
I removed the intake valves first. I labeled the HLAs and kept them with their springs, retainer, keepers, and seat washer thing. I don’t think it’s as important to keep parts together on a hydraulic lifter head (as opposed to a shim under bucket lifter), but I figured it’s easy enough to do it, so I might as well.

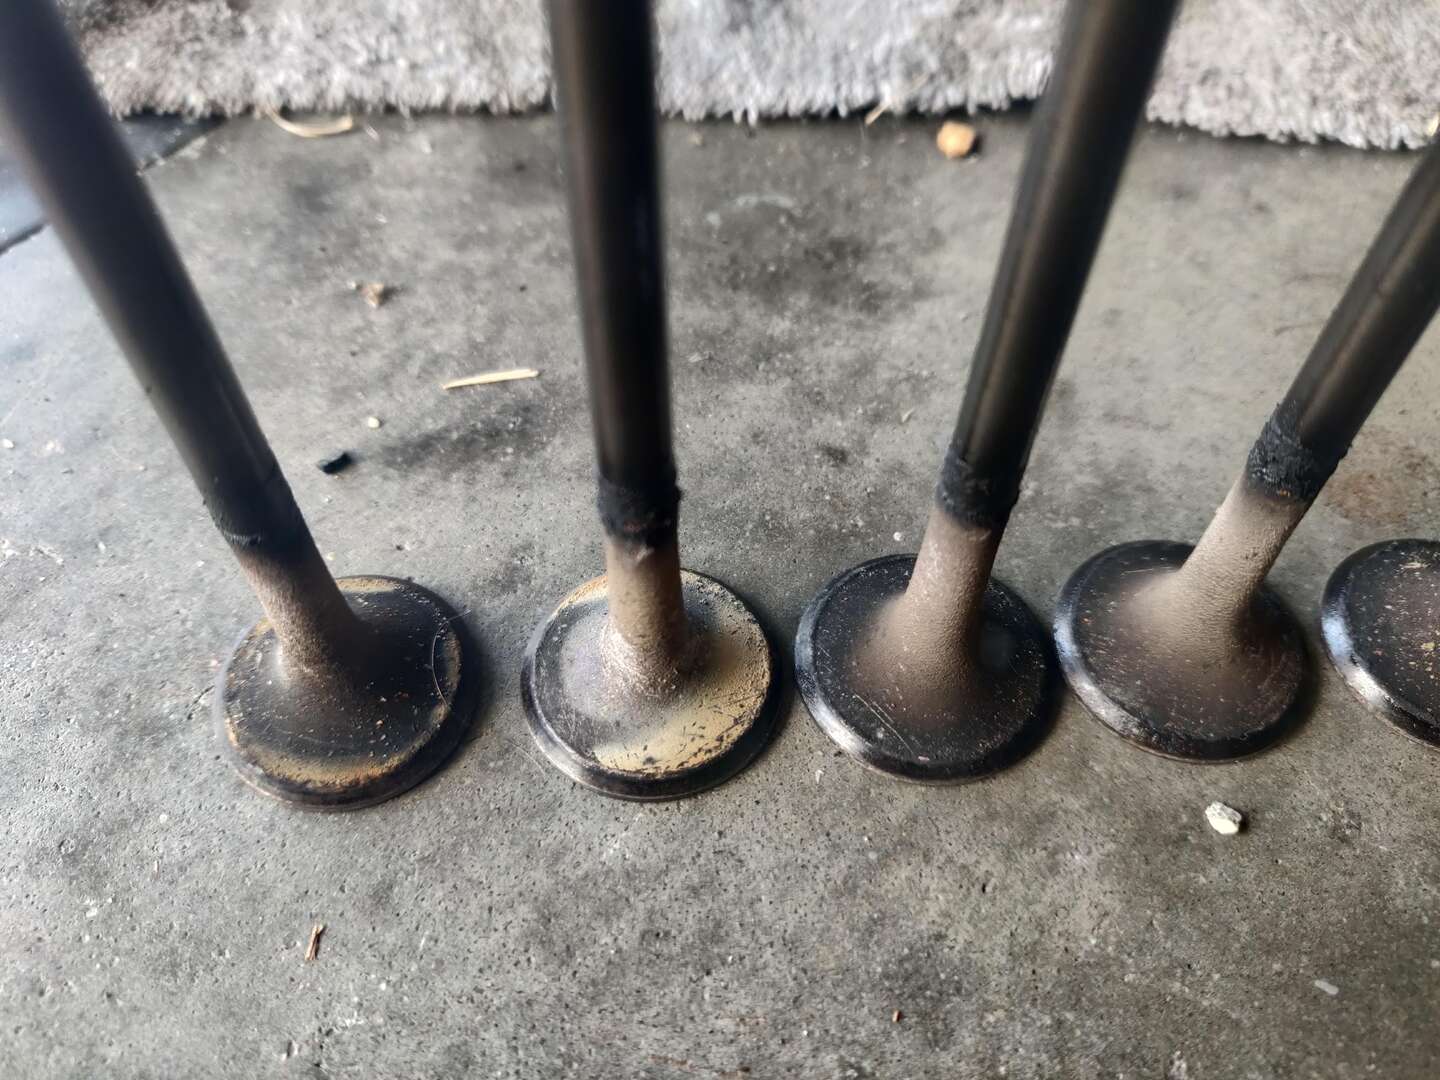
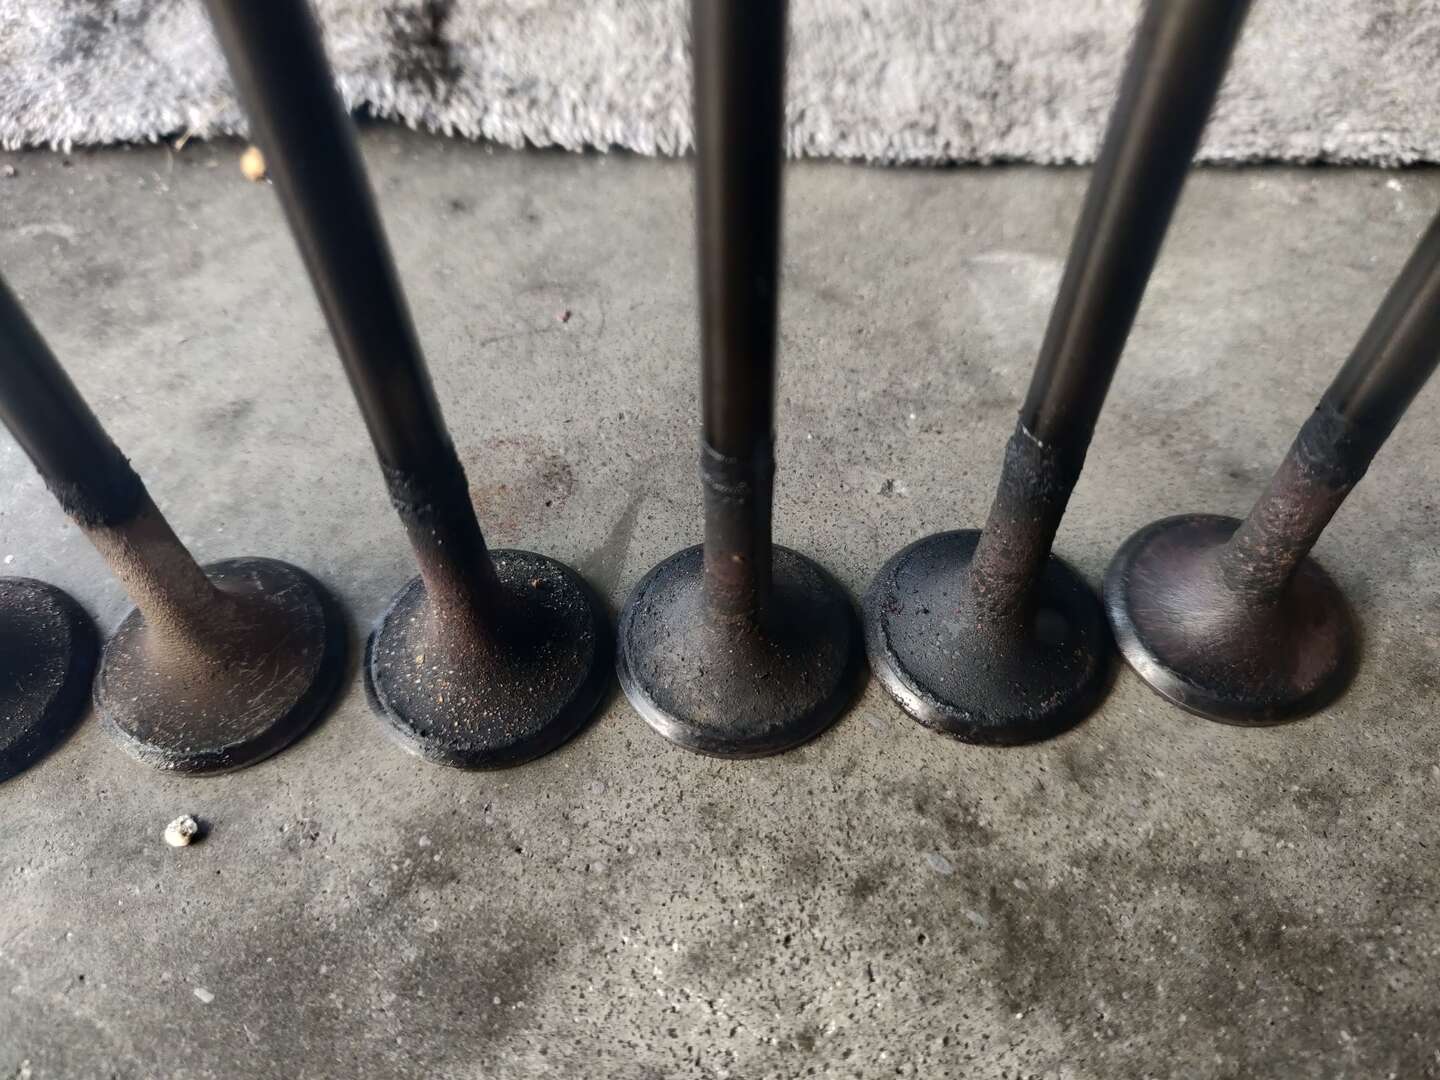
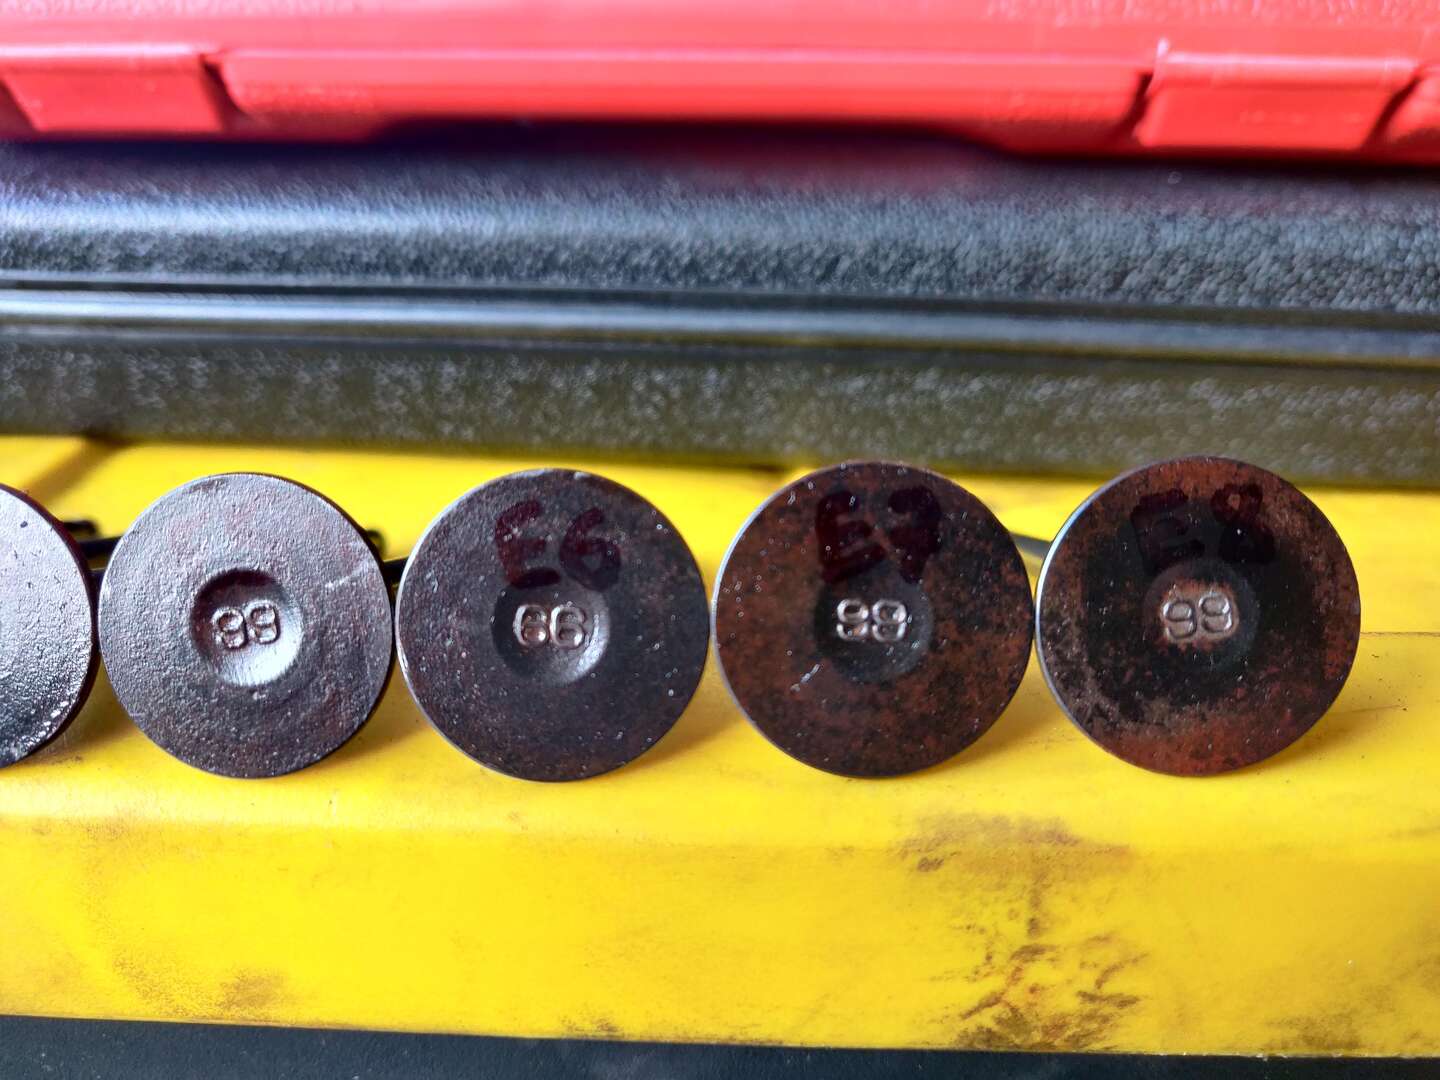
Cleaning Exhaust Valves
Next is the exhaust valves. Pretty much the same process as the intakes. I found that the backs of the exhaust valves were much dirtier than the intakes. Also, the carbon buildup on the front face was more difficult to remove than it was on the intakes. The intake buildup seemed to be more sludgy, while the exhausts had a hardened buildup.

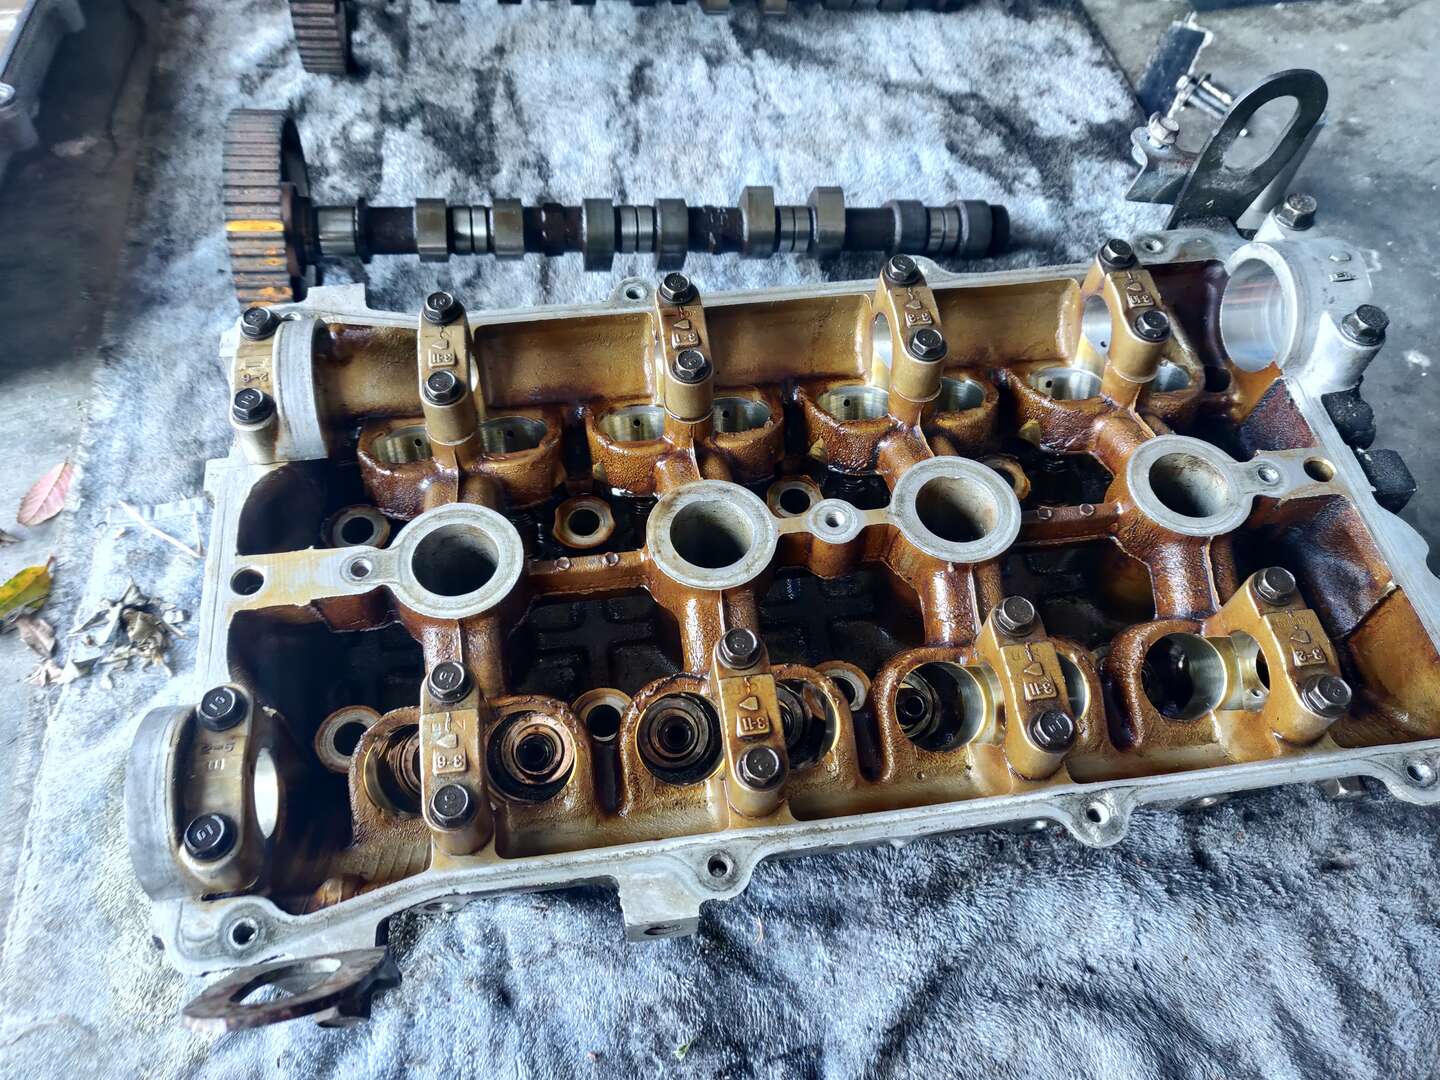
After Disassembly
Here is a photo of the disassembled head. I bolted the cam caps back on because I didn’t want to lose any of the bolts. I also left the valve seals in for now, but I think I’ll remove them before sending it off to the shop.
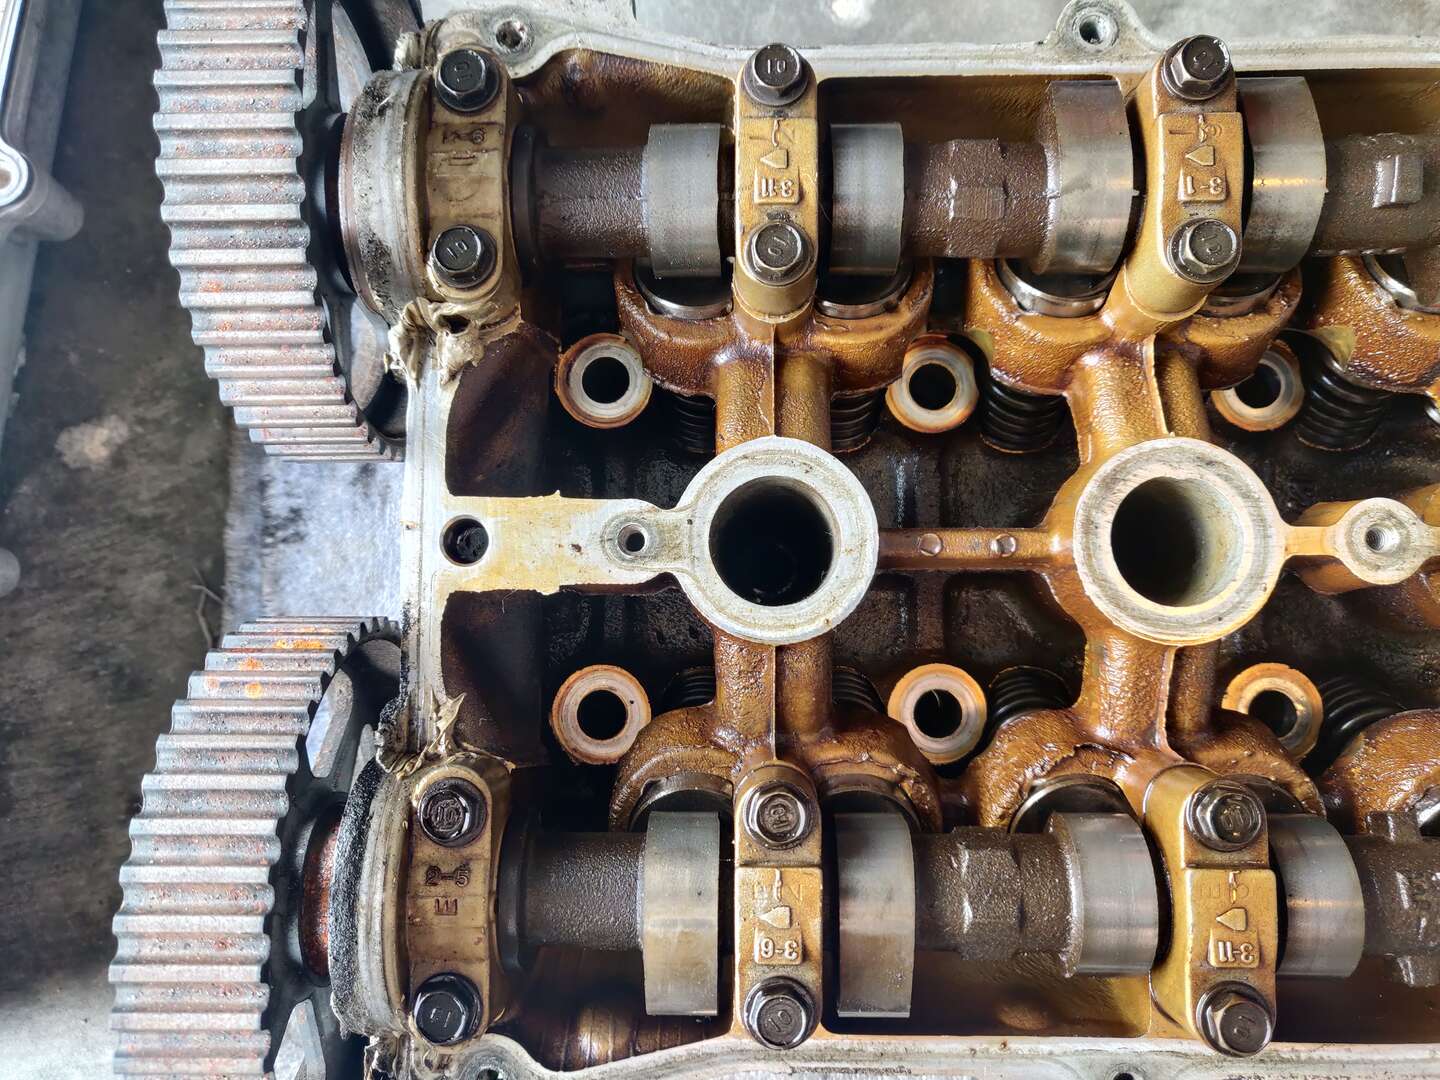
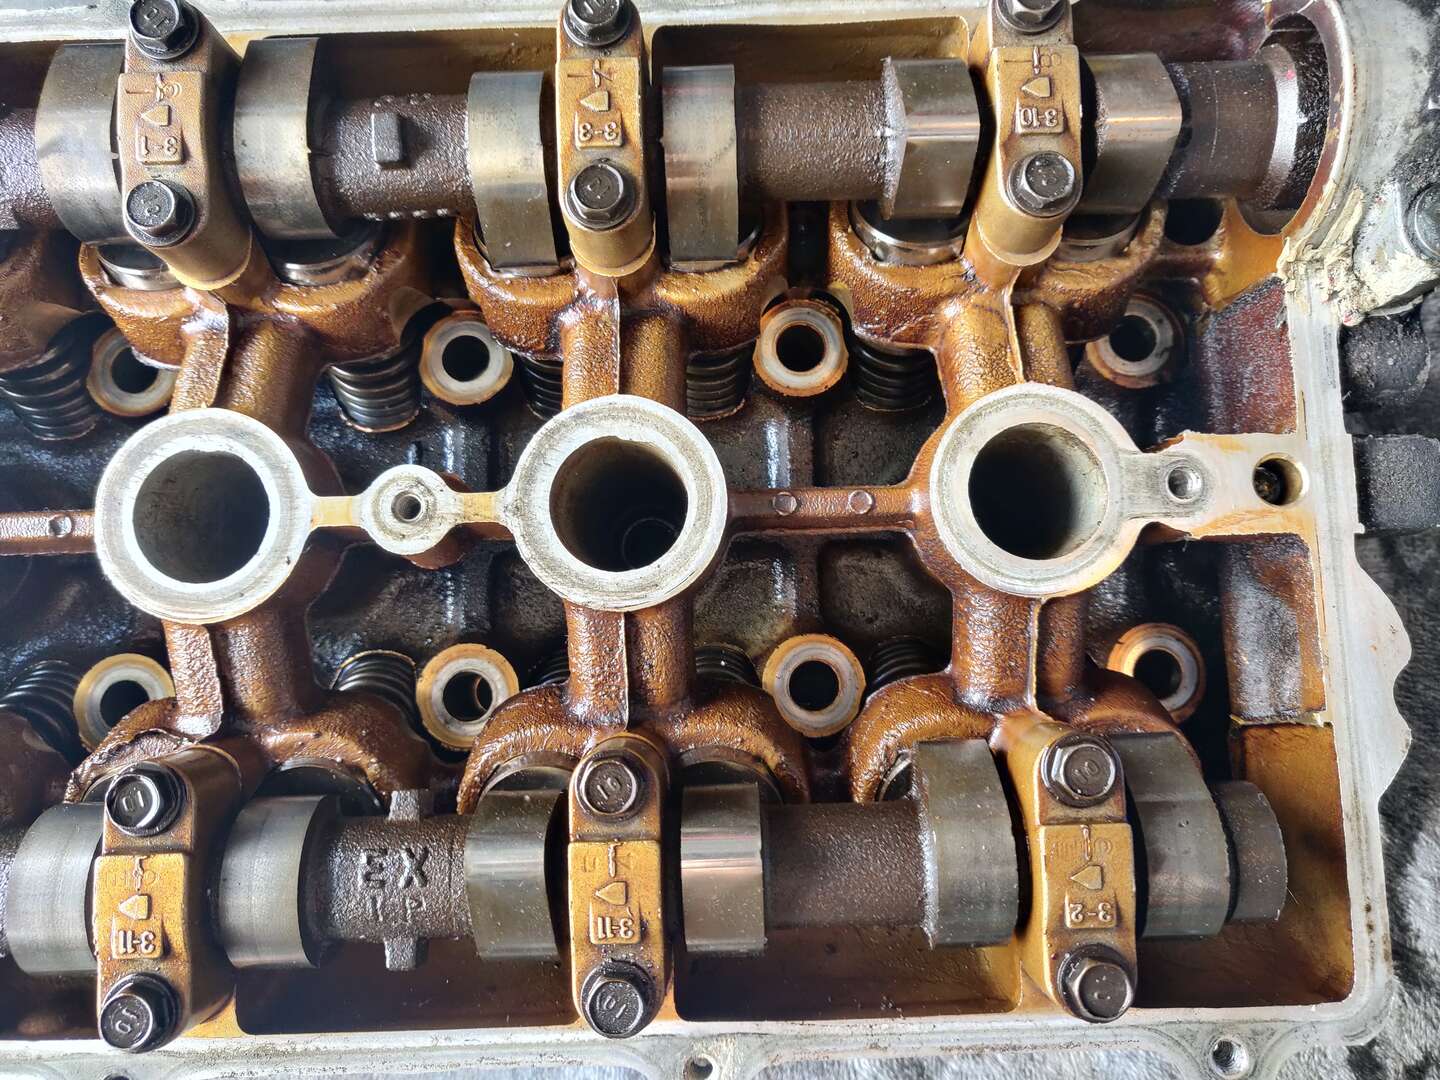
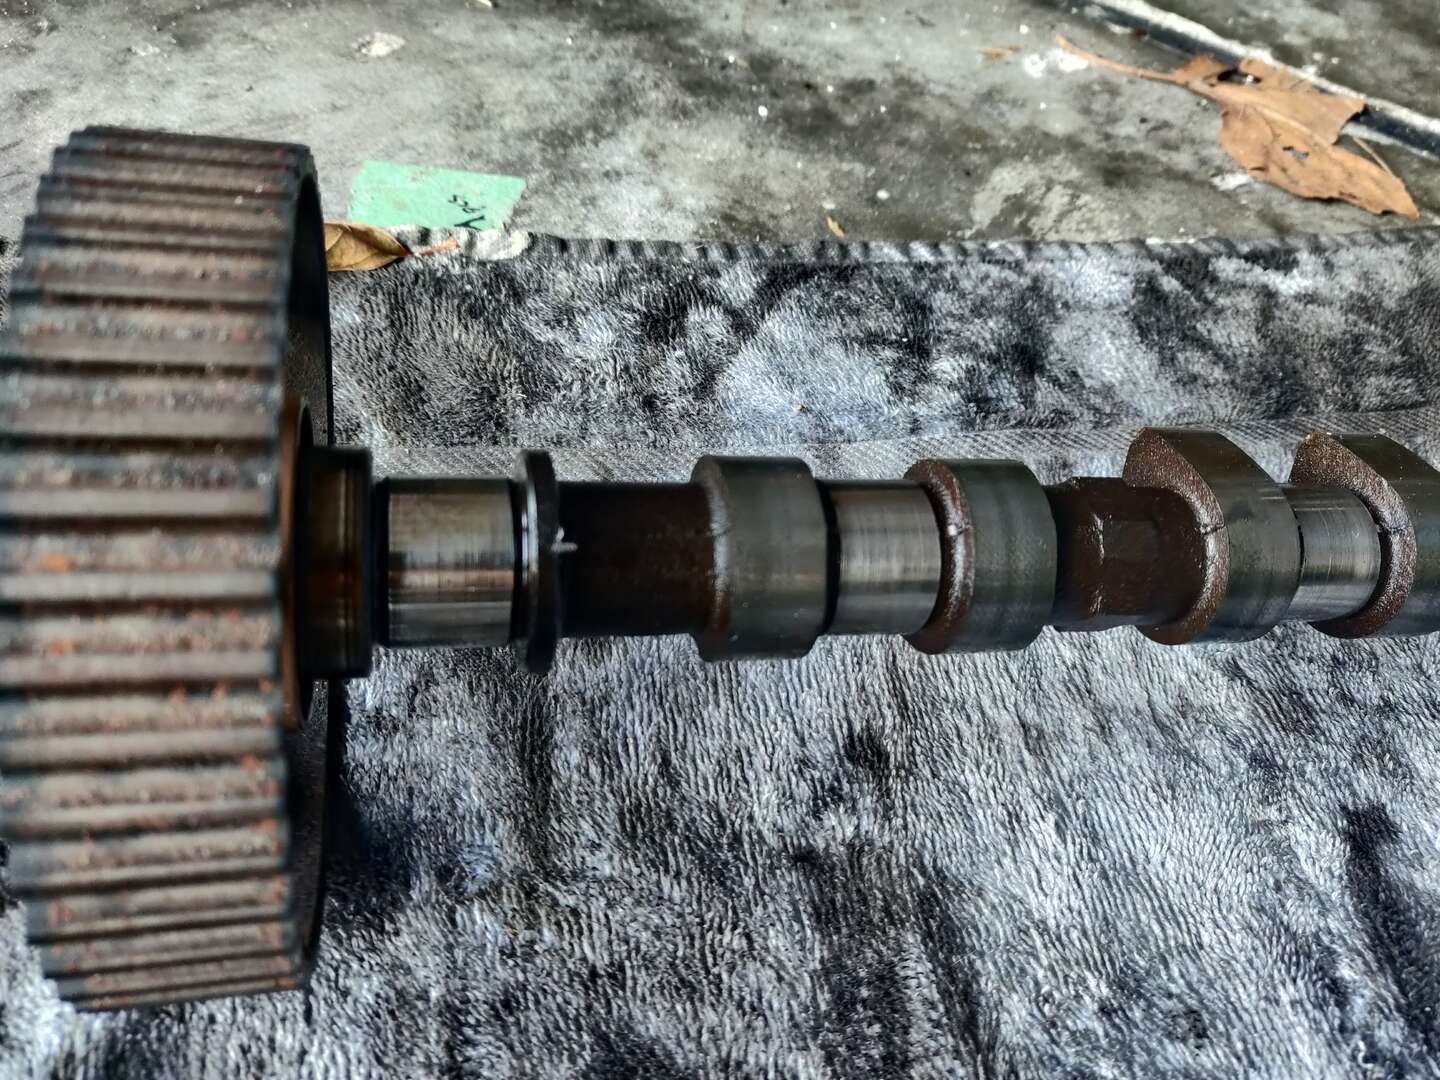
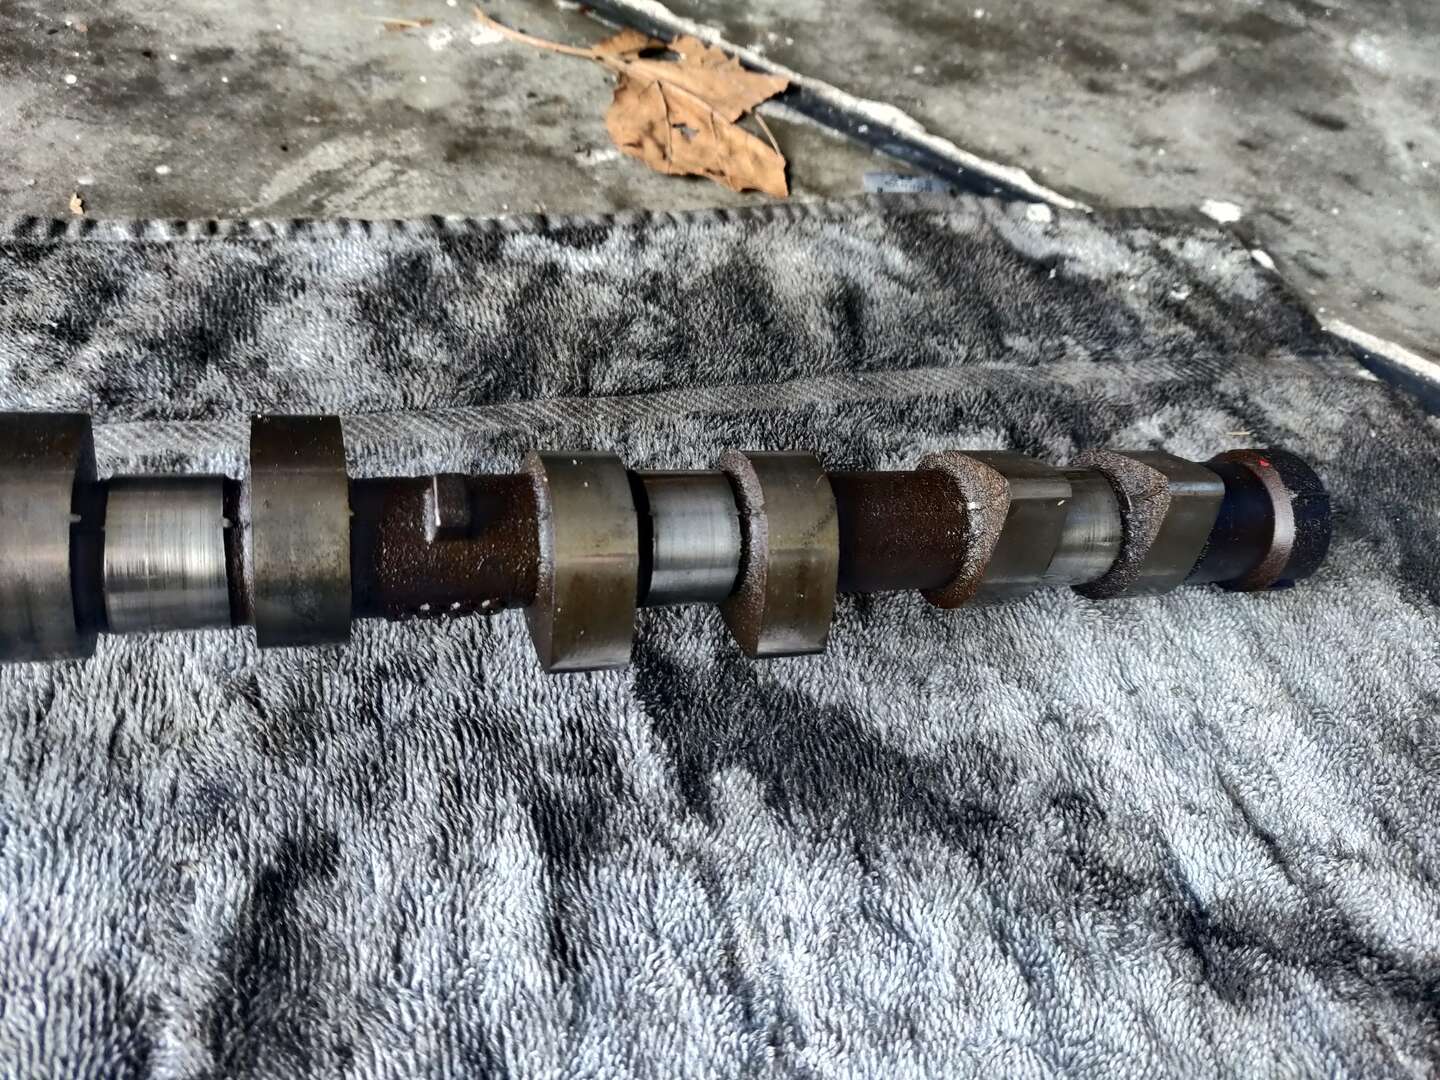
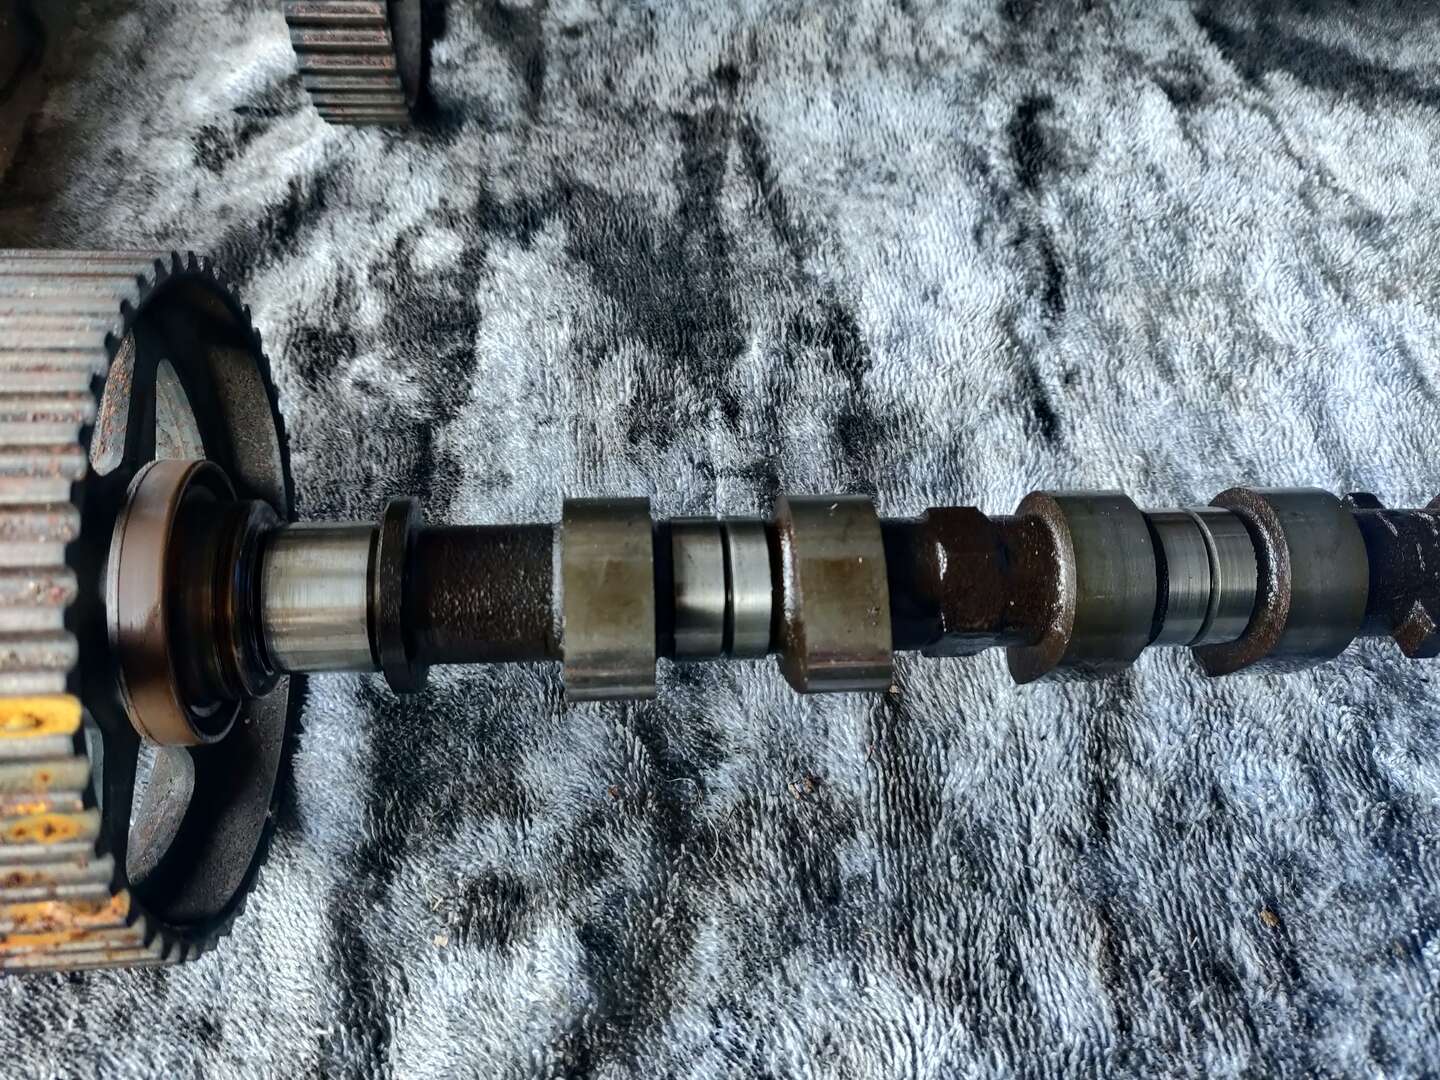
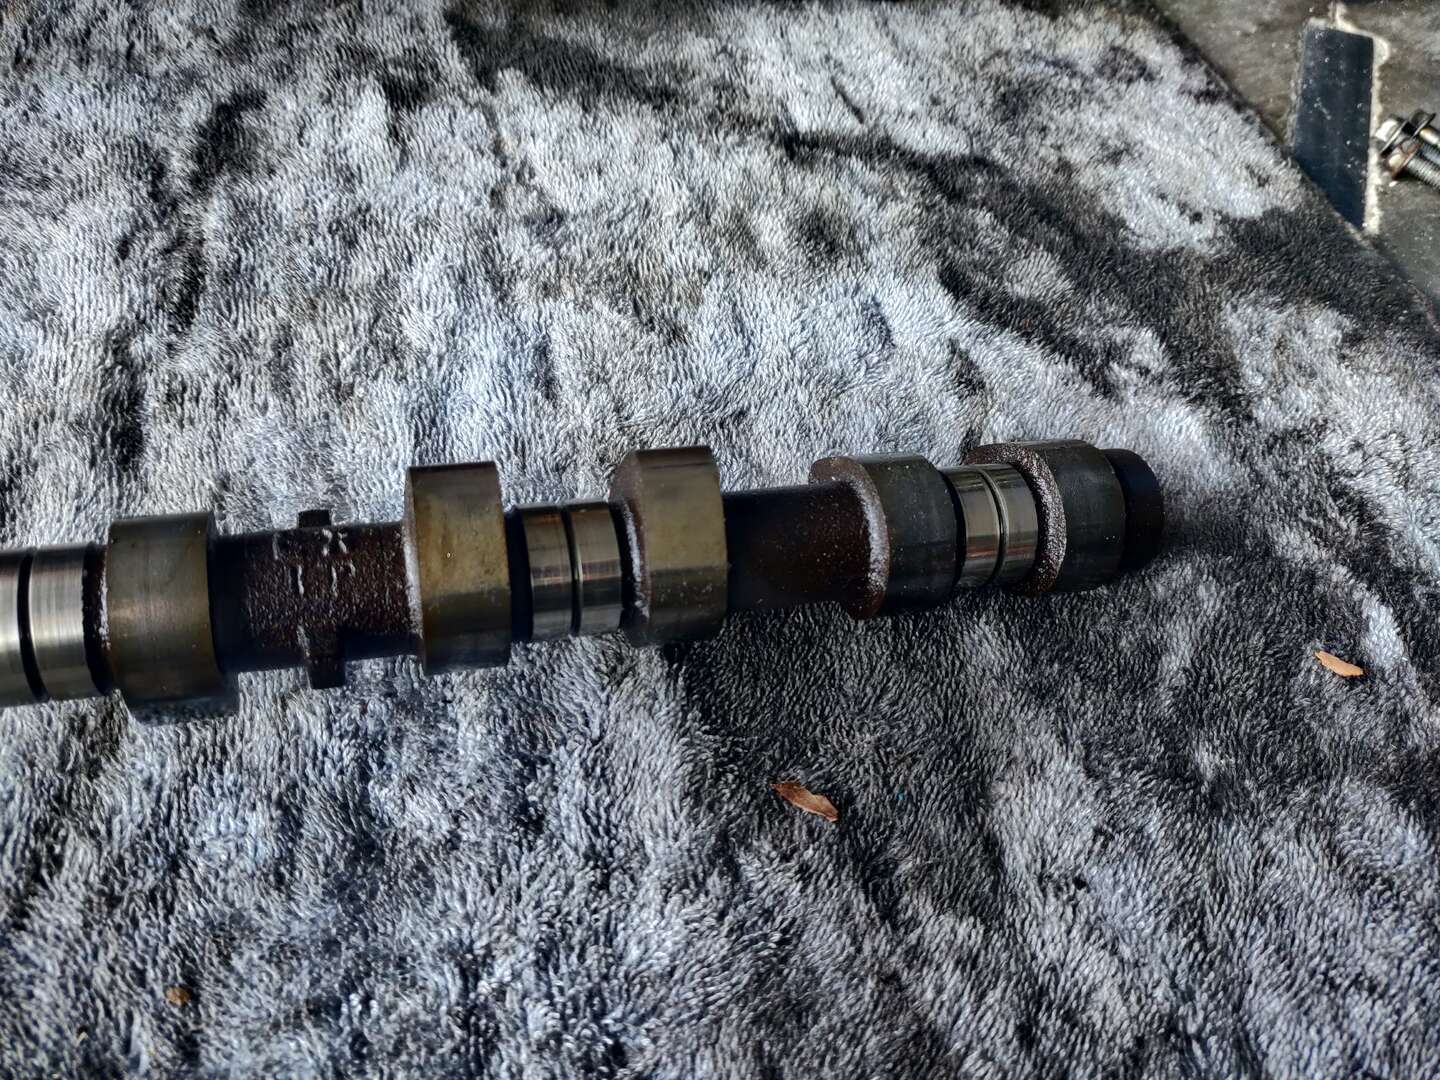
These are some photos of the camshafts. There’s a little bit of scoring on some of the journal surfaces. Maybe I should have these polished…
Lastly, here’s the organizer bin I use. I buy these 24 Compartment Large Organizers from harbor freight. They’re not the best quality, but they’re cheap and easily accessible. I like to use them for bolt/nut storage, so that’s probably what I’ll use it for once I’m done with the build.

Load Comments