This is a retro-post of a project I did in March 2011. It was originally posted to instructables.com for one of their online contests. The grand prize was an Epilog laser cutter that I really wanted to win. I think I ended up winning a t-shirt instead :)
The POWER PLAYER!!!!
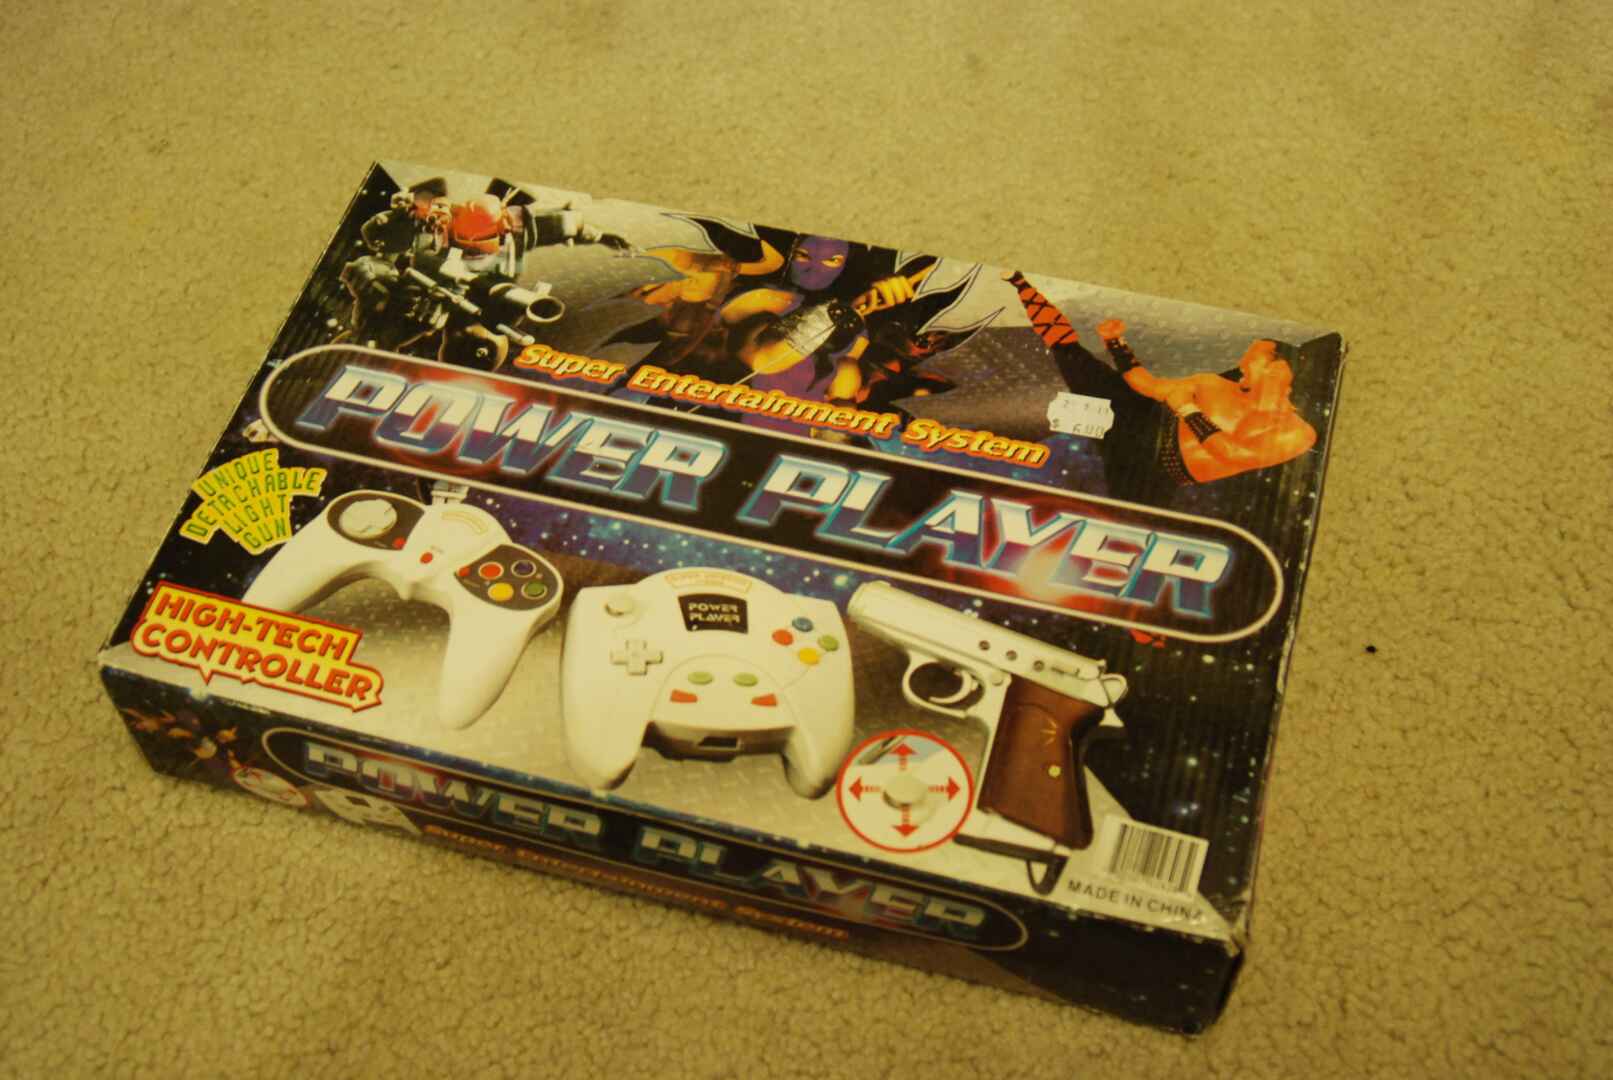
The project started with me finding a Power Player (NES console clone) at Good Will. I used to go to Good Will a lot to pickup old electronics for parts. I remember buying printers for their stepper motors and linear sliders.
NES Controller Adapter
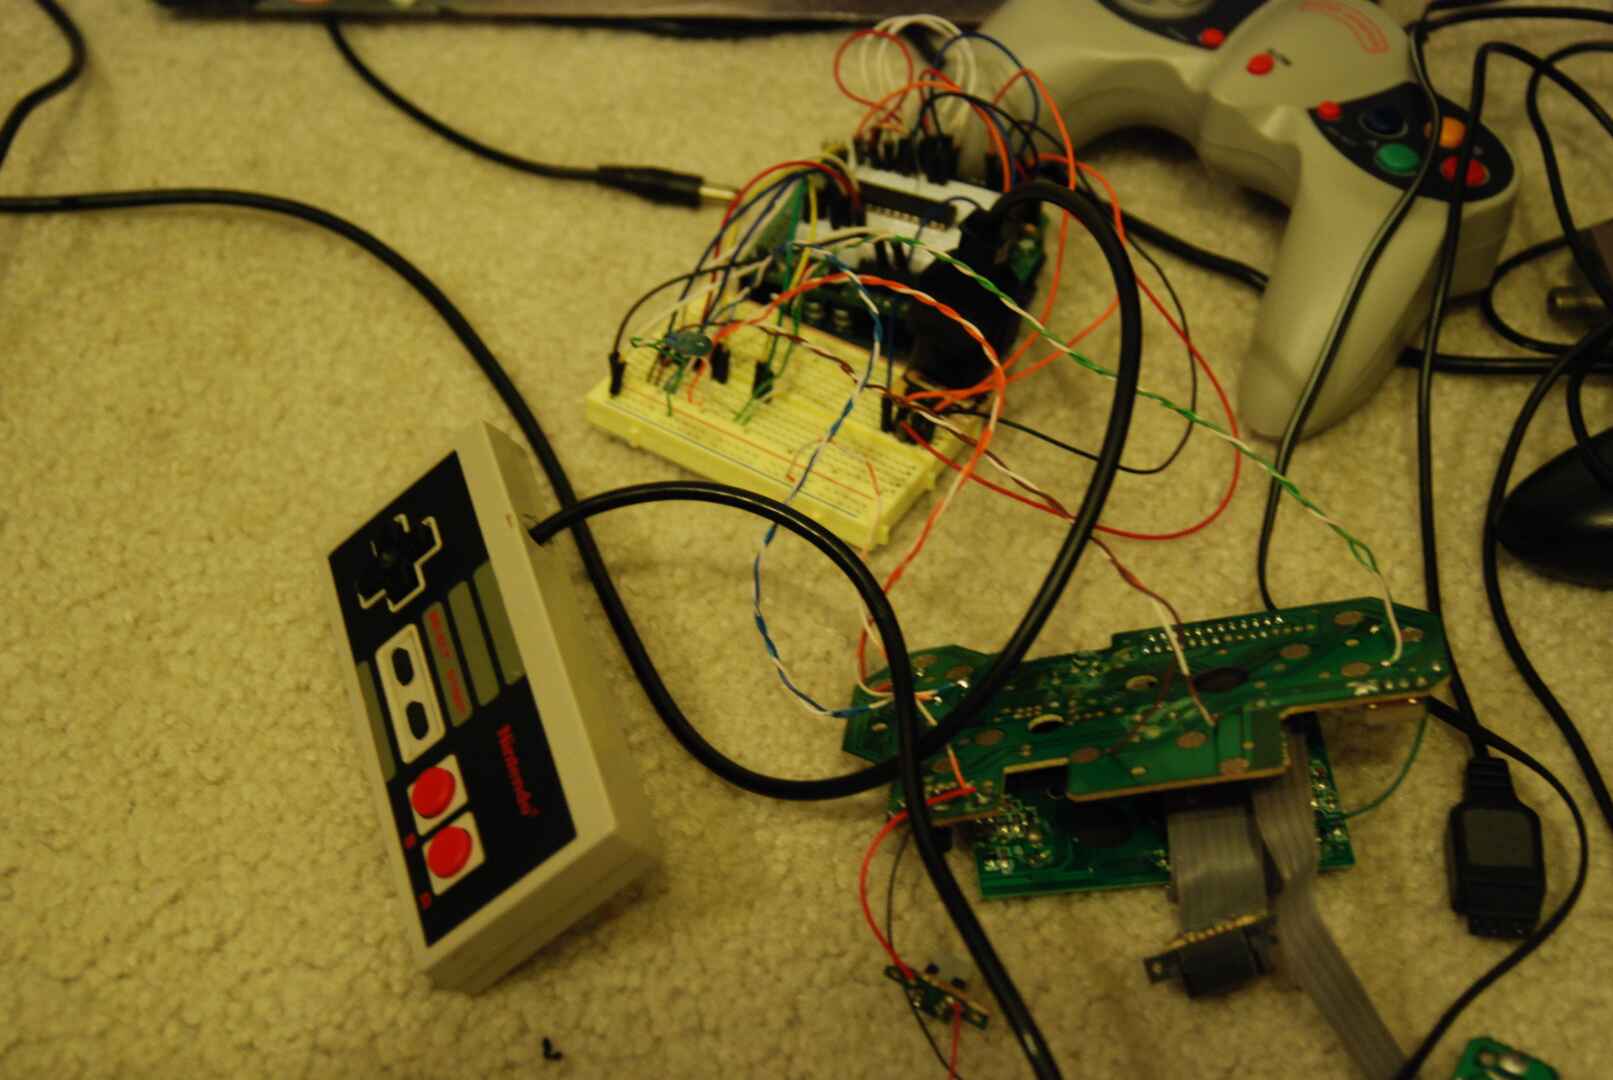
In order to get the Power Player to work with original NES controllers, I had to make a converter. I used an Arduino to adapt the NES controller’s shifter register logic to the clone console’s “glob top” controller chips.
Here’s a video of high school Dan showing the adapter logic working.
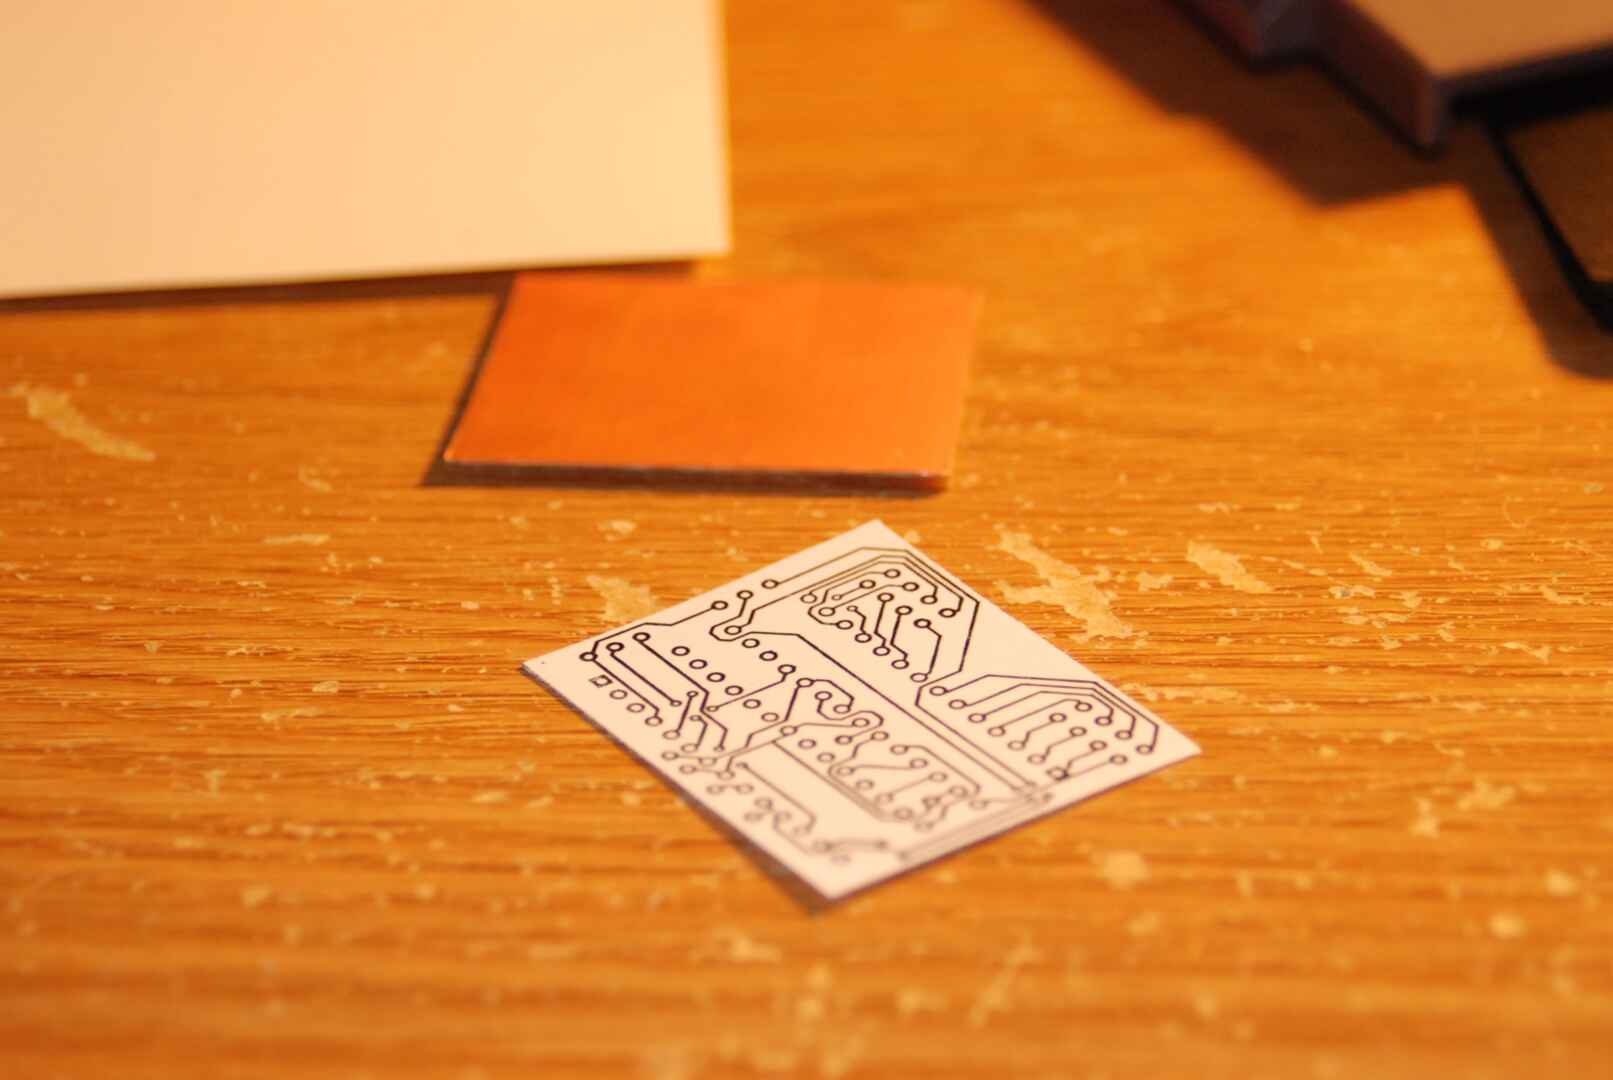
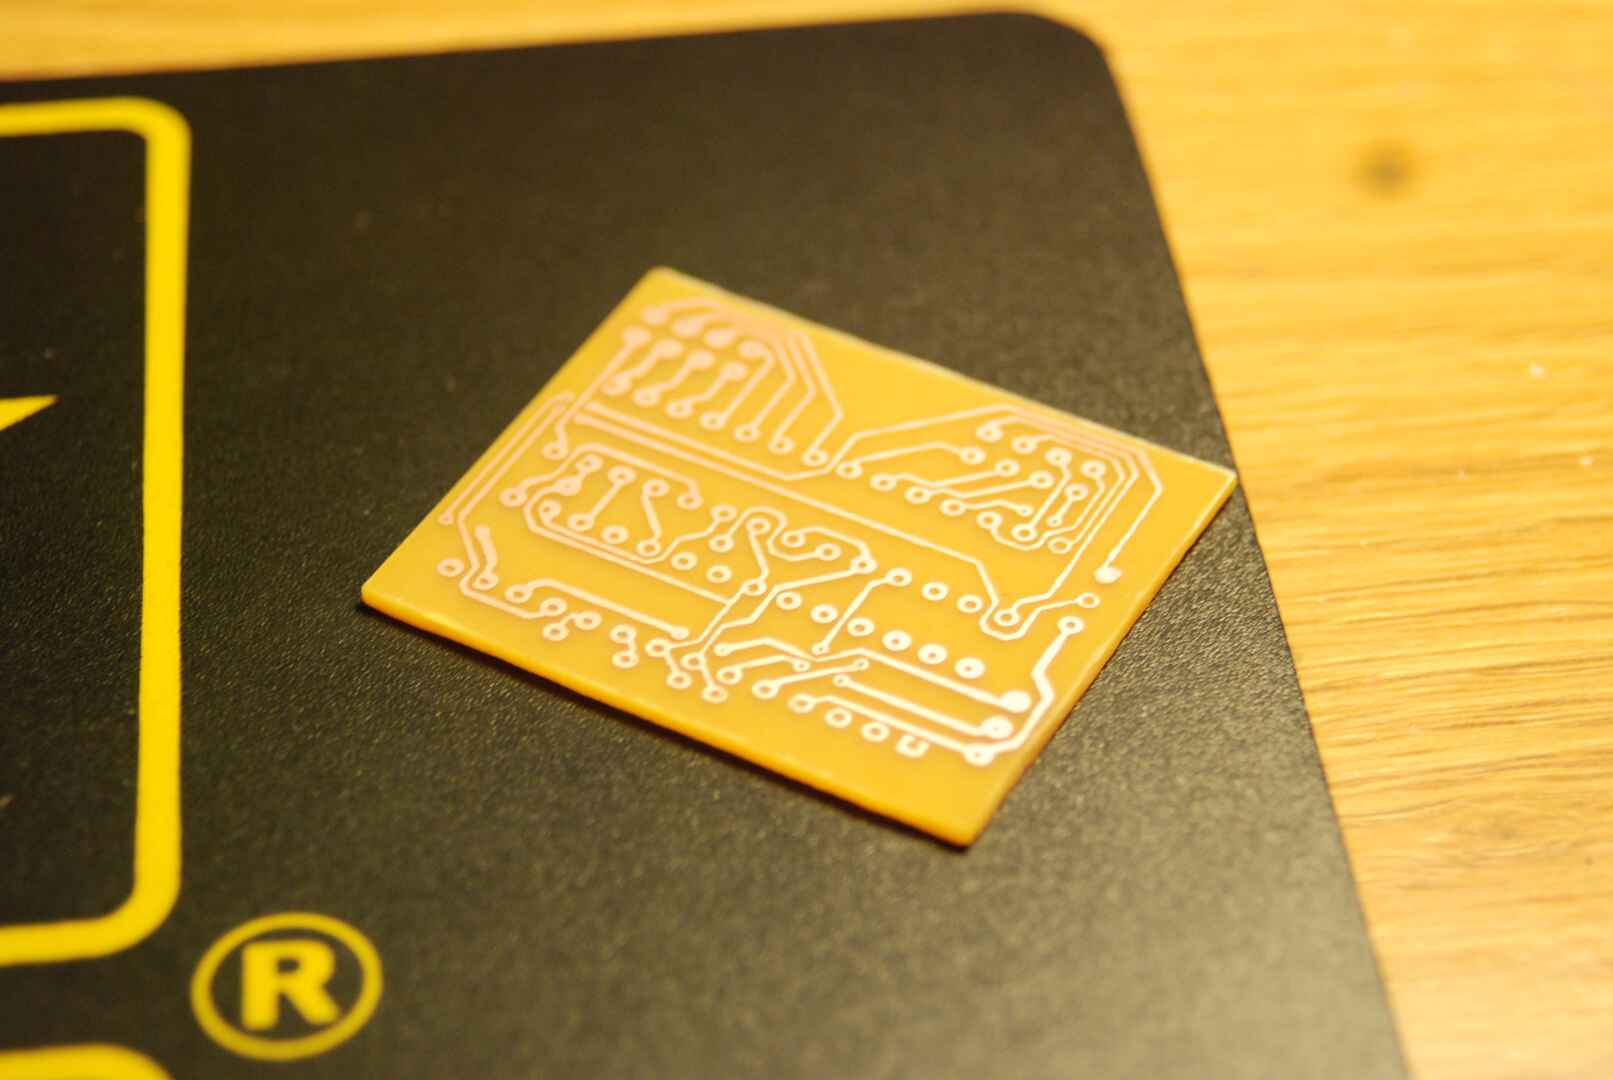
Once the basic logic was working, I made a DIY PCB for the controller adapter. I think this was the second time I made a standalone Arduino on a custom PCB; the first time was an alarm clock I made (might post about that later). I used the toner transfer method to acid etch PCBs back then.

Wiring
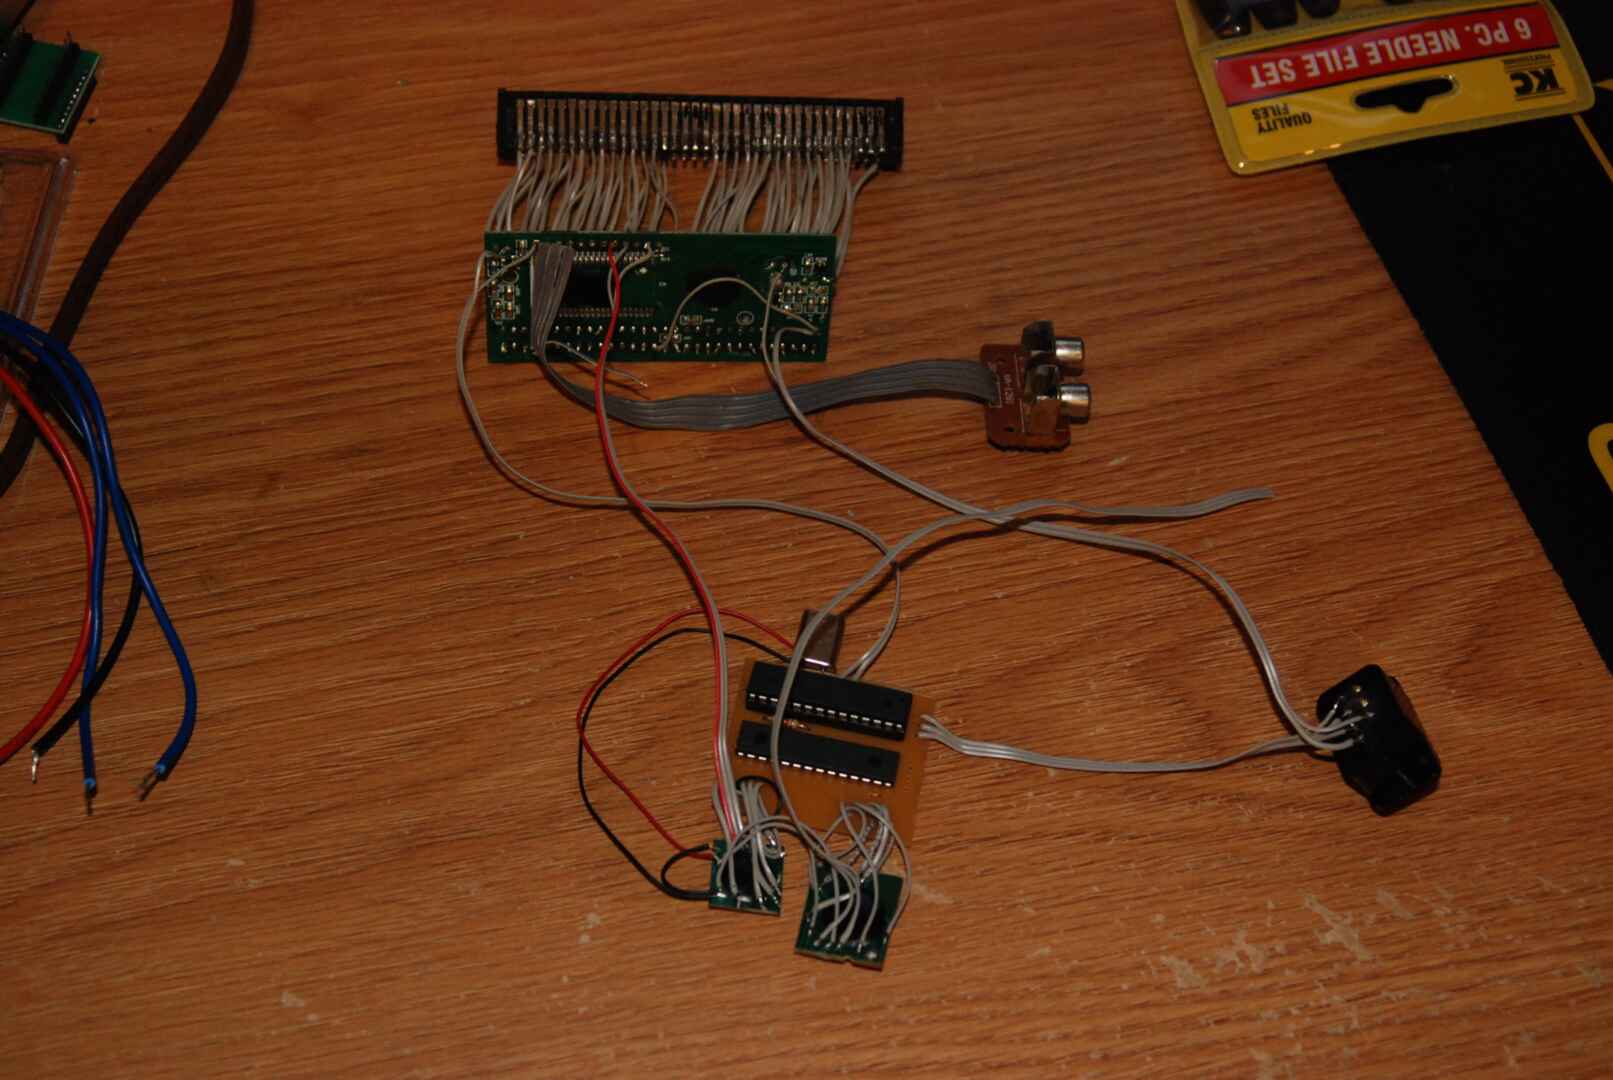
The clone console had the Japan “Famicom” version of the cartridge slot. The slot needed to be adapted to work with the USA version of the NES slot. The slots are pin compatible, but you just need to rewire them slightly. I used to have so much patience with a soldering iron back then…
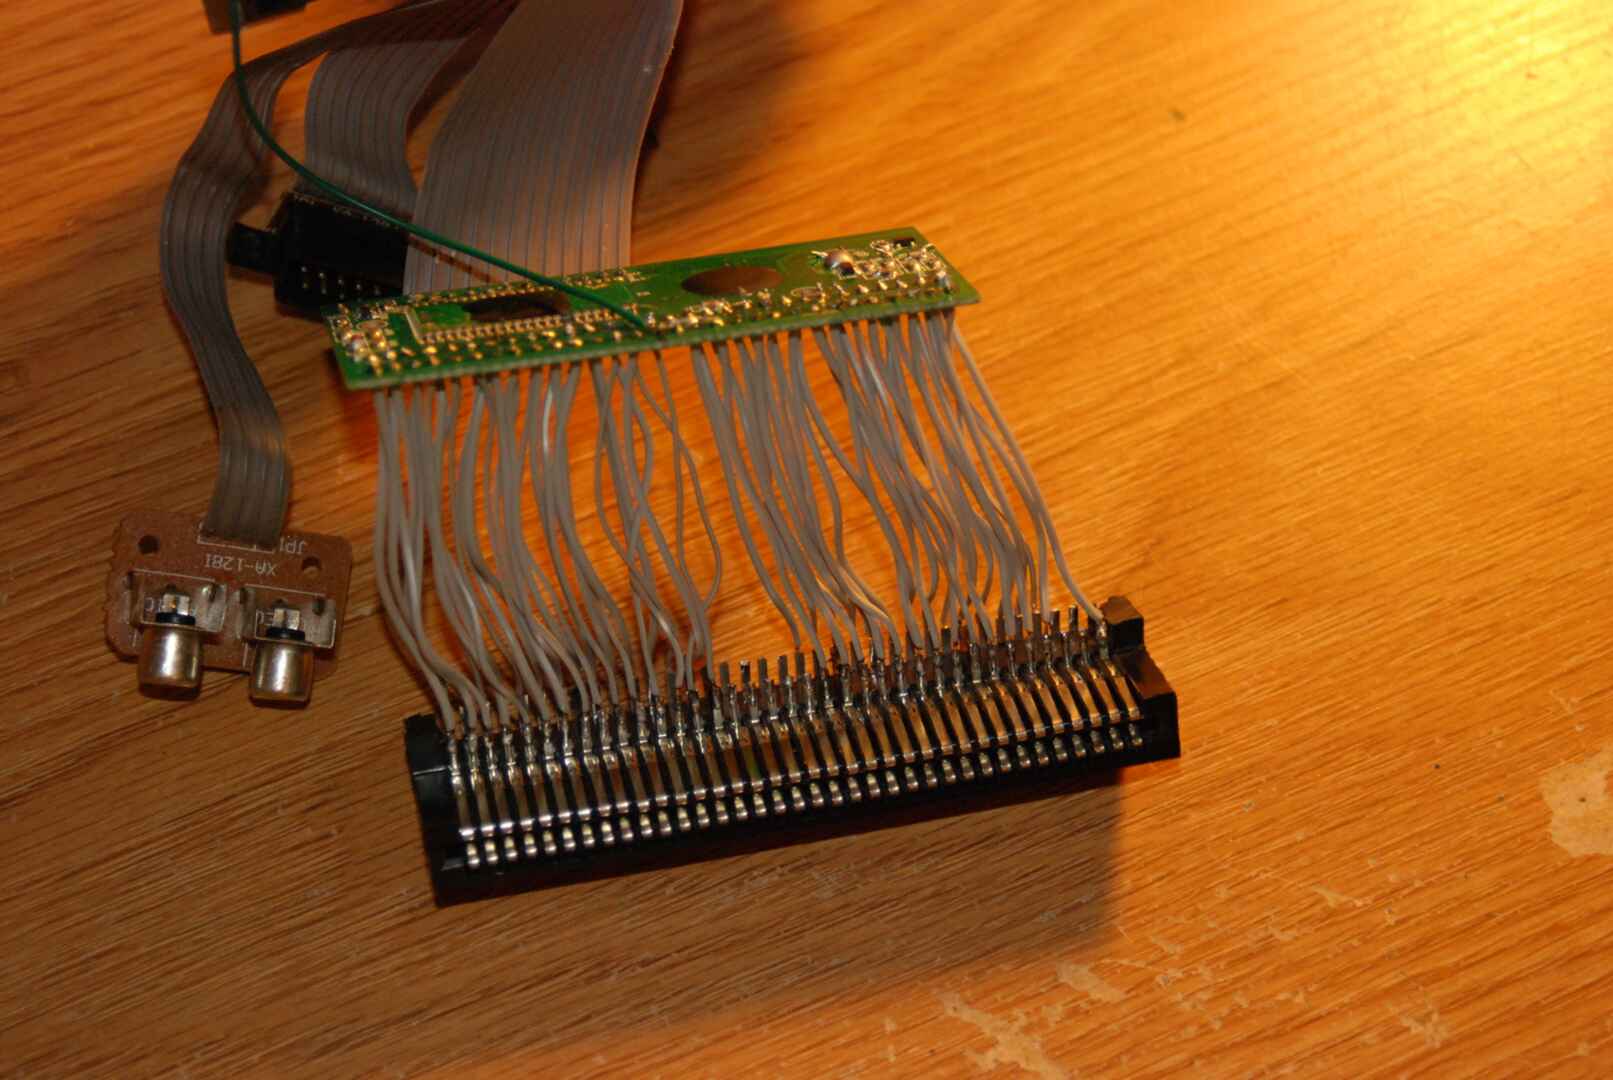
Here’s the adapter board and “glob top” chips wired up to the base unit.
Making The Case
For the case, I gutted out an original Super Mario Bros. cartridge. The case needed holes cut for the cartridge slot, controller ports, power switch, LED indicator, composite AV ports, and power plug. You can’t see the AV and power ports in this picture, but they’re holes drilled in the top of the cartridge.
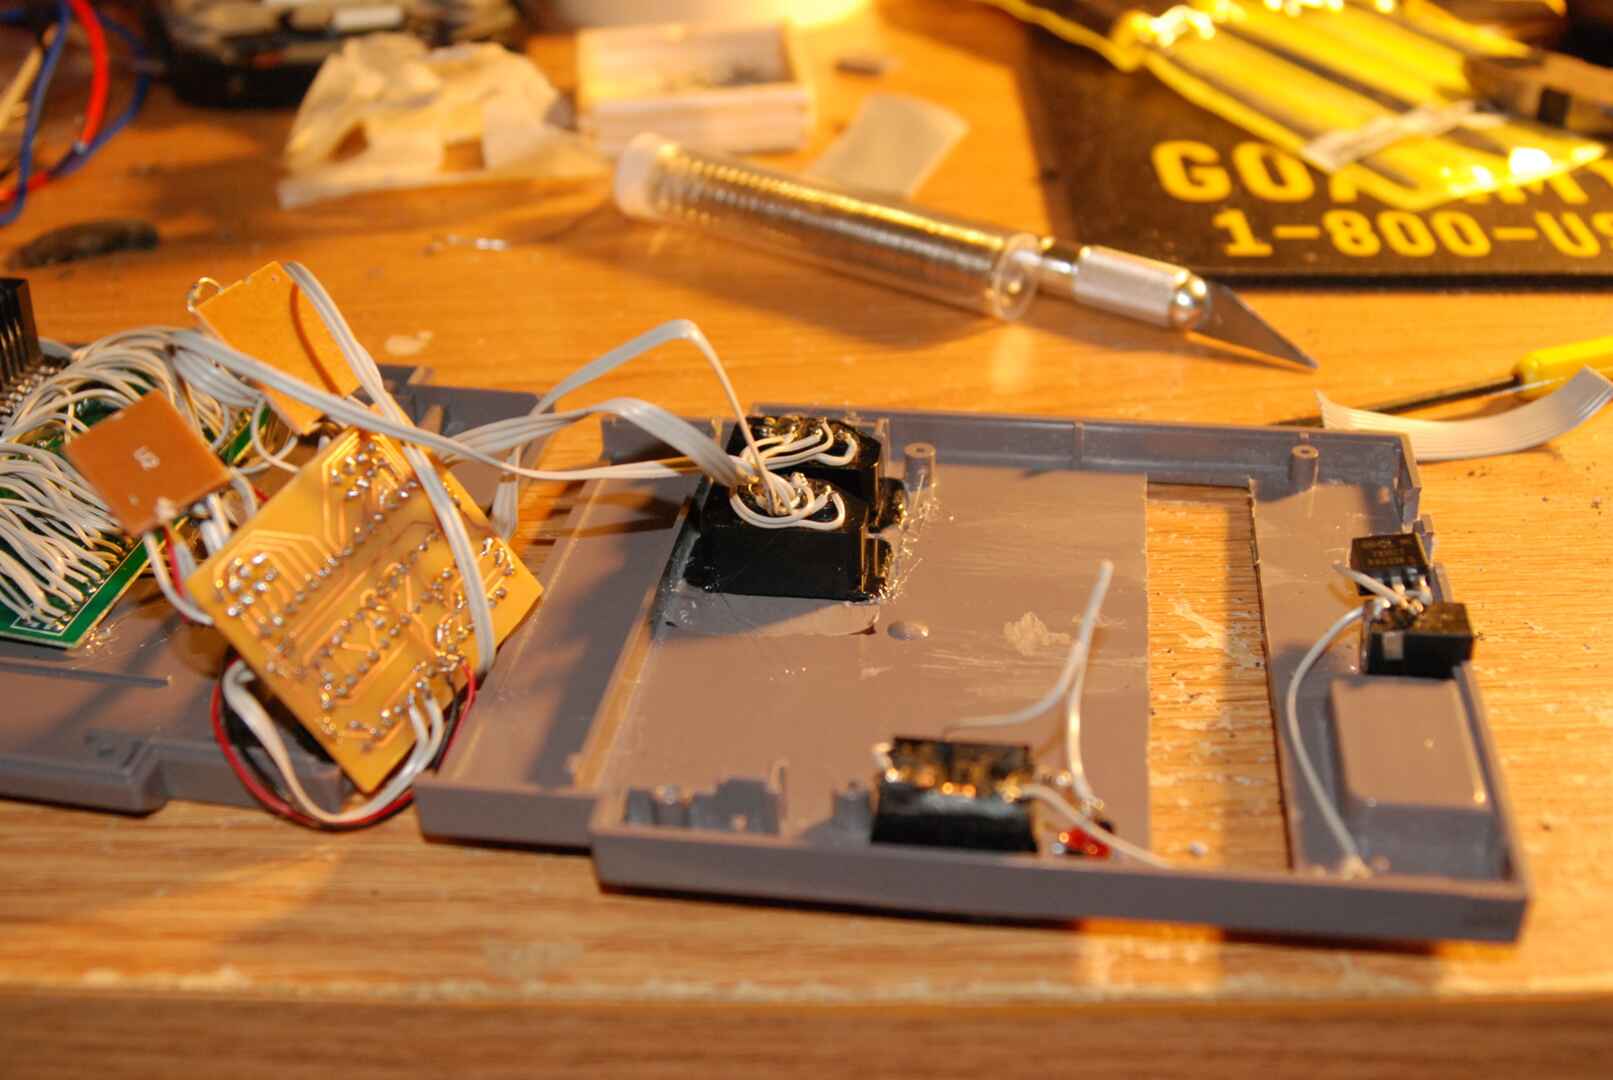
Final Assembly
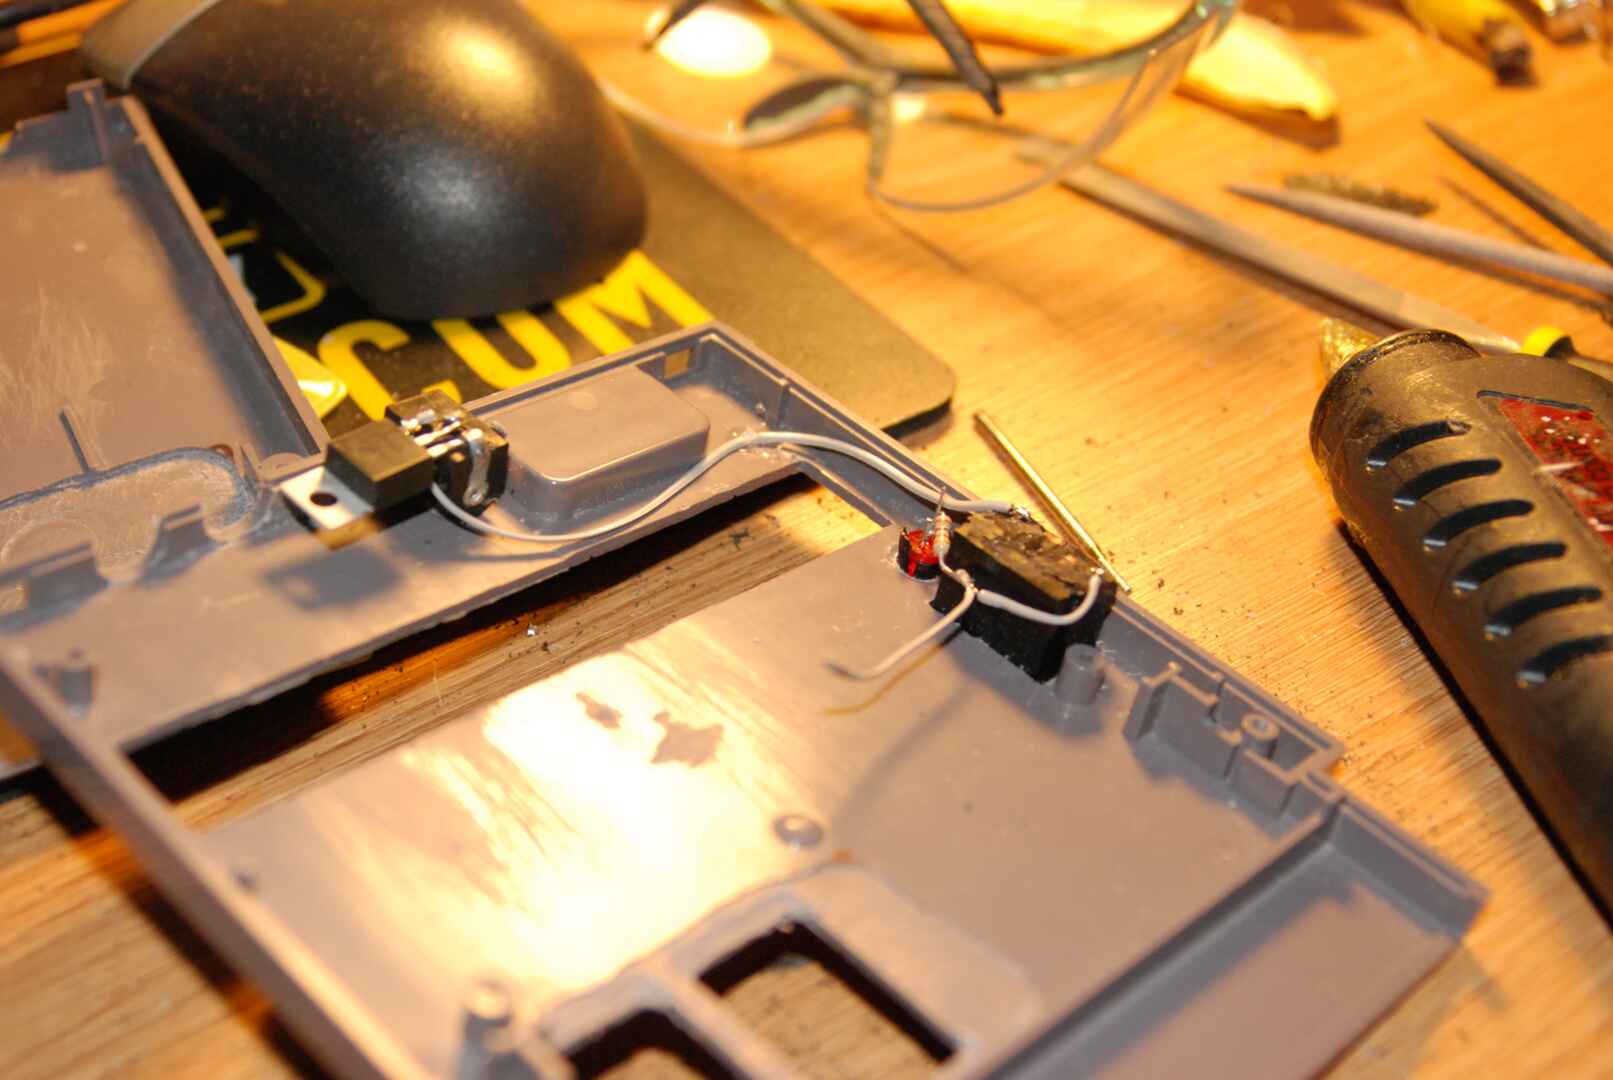
When I first started this project, I really wasn’t sure if I’d be able to cram all these components into the cartridge. This photo gives you an idea of just how far I had to go to make things fit right. The power switch I wanted to use needed to be ground down quite heavily in order for it fit height-wise.
Here’s the final assembly left folded open “clam shell” style. Hot glue is your friend!
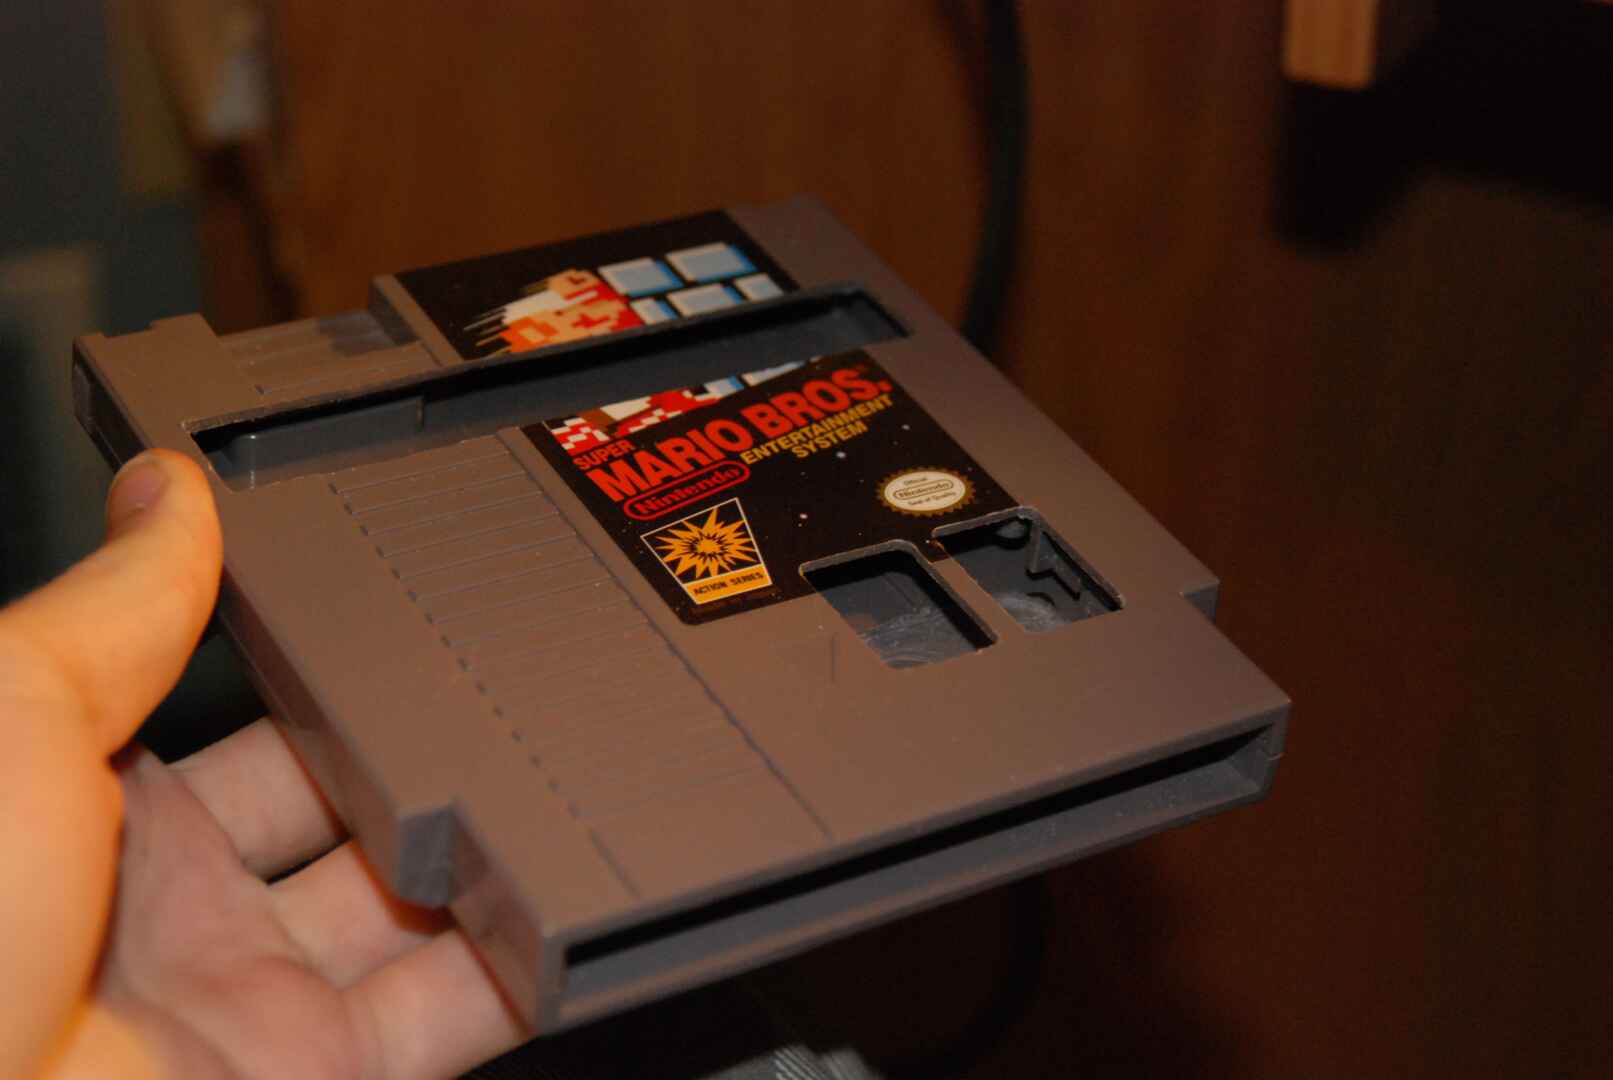
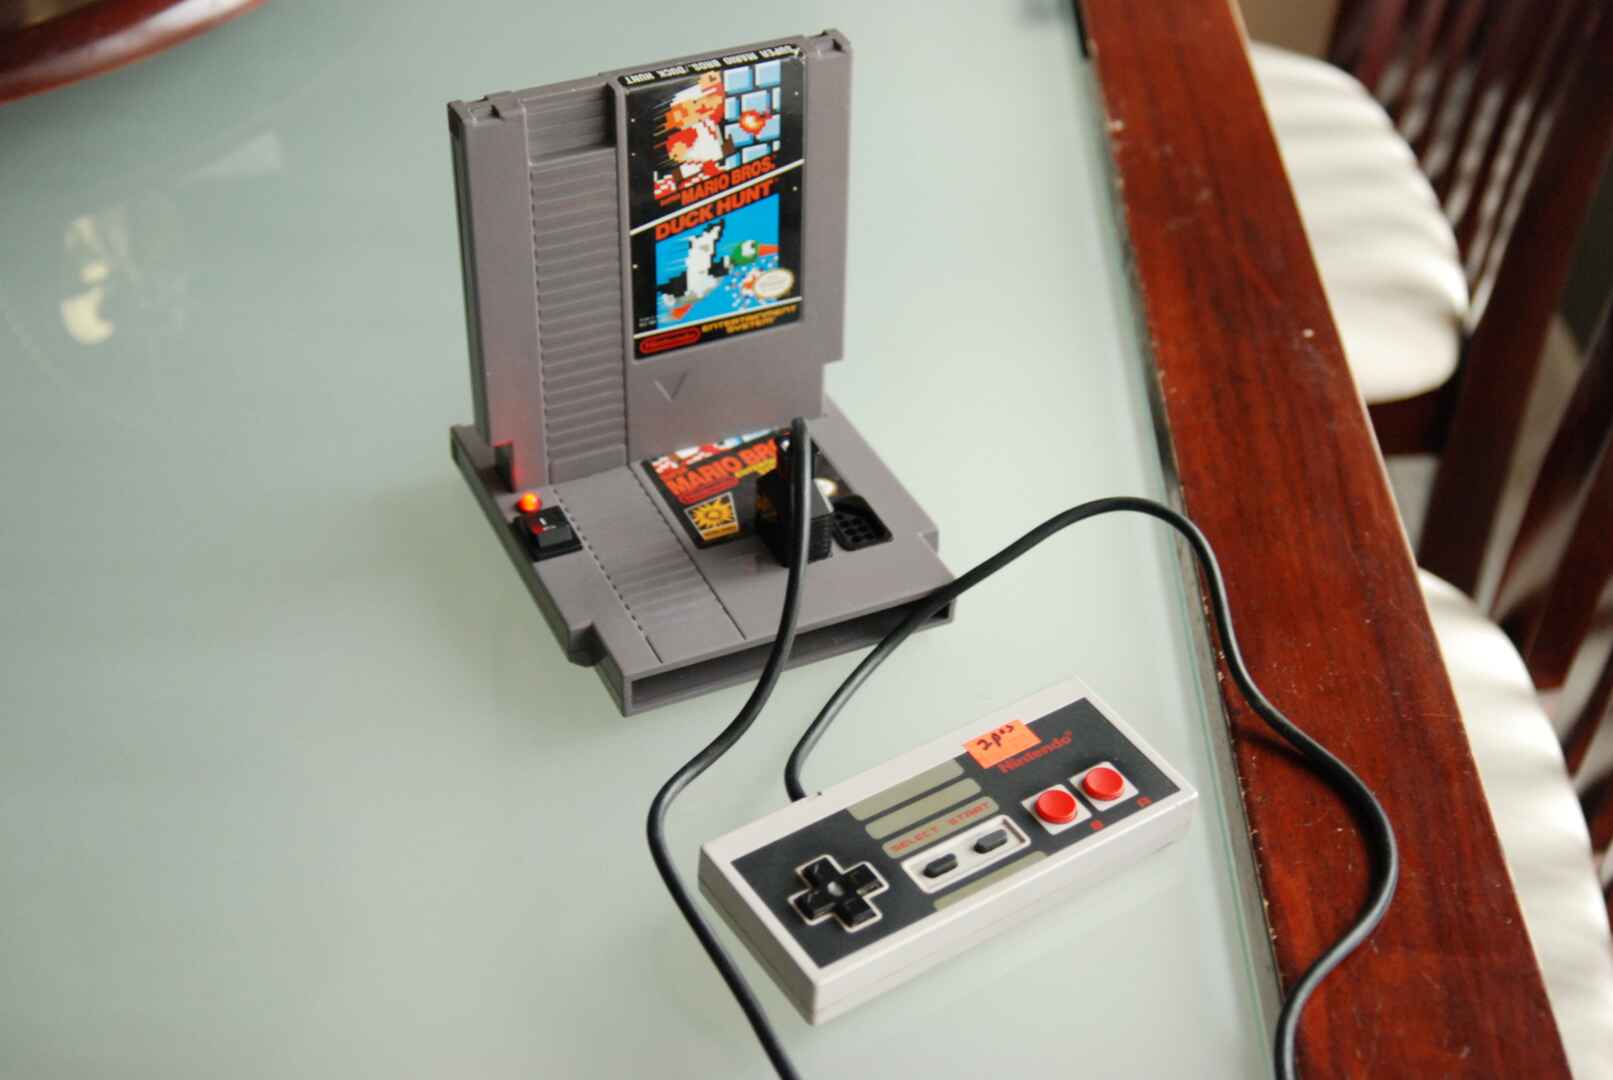
Here’s the final thing in all its NES cartridge-ception glory! Notice how you can’t see a power cord… I think I was honestly running the thing off a 9V battery for this photo.
Conclusion
Here’s another video from high school Dan demoing the final console with some Super Mario Bros. 3 game play.
Since I posted that original instructables page, I’ve had a few people reach out to me asking if I’d sell them one. I ended up making two other versions that were much simpler. I was able to source NES clones on eBay that were compatible with the original NES controllers. This meant I didn’t need to make the controller adapter board which helped cut back on cost and time to reproduce.
The first guy I sold a console to ended up doing a charge-back on Paypal because he claimed he never received the package in the mail. The second guy was awesome, and actually kept in touch with me for a few years afterwards.
I guess we’ll never know for sure, but there should only be 3 of these DIY consoles in existence.
-Dan
Load Comments